Bosch 800 Series Інструкція з використання та догляду - Сторінка 22

Переглянути онлайн або завантажити pdf Інструкція з використання та догляду для Духовка. Bosch 800 Series. Bosch 800 Series 40 сторінок. Built-in wall ovens
Також для Bosch 800 Series: Інструкція з монтажу Посібник з монтажу (24 сторінок), Посібник з монтажу (40 сторінок), Інструкція з використання та догляду (12 сторінок), Посібник з монтажу (23 сторінок), Посібник з монтажу (28 сторінок), Посібник з монтажу (32 сторінок), Інструкція з експлуатації (32 сторінок), Посібник з монтажу (32 сторінок), Посібник із швидкого запуску та техніки безпеки (7 сторінок), Інструкція з використання та догляду (40 сторінок), Посібник з монтажу (40 сторінок), Посібник з монтажу (32 сторінок), Інструкція з монтажу Посібник з монтажу (40 сторінок), Посібник з монтажу (48 сторінок), Інструкція з використання та догляду (33 сторінок), Інструкція з використання та догляду (49 сторінок), Посібник із швидкого старту (7 сторінок), Посібник із швидкого запуску та техніки безпеки (13 сторінок), Посібник з монтажу (32 сторінок), Посібник з експлуатації (36 сторінок), Інструкція з монтажу Посібник з монтажу (29 сторінок), Інструкція з використання та догляду (24 сторінок), Інструкція з монтажу Посібник з монтажу (28 сторінок)
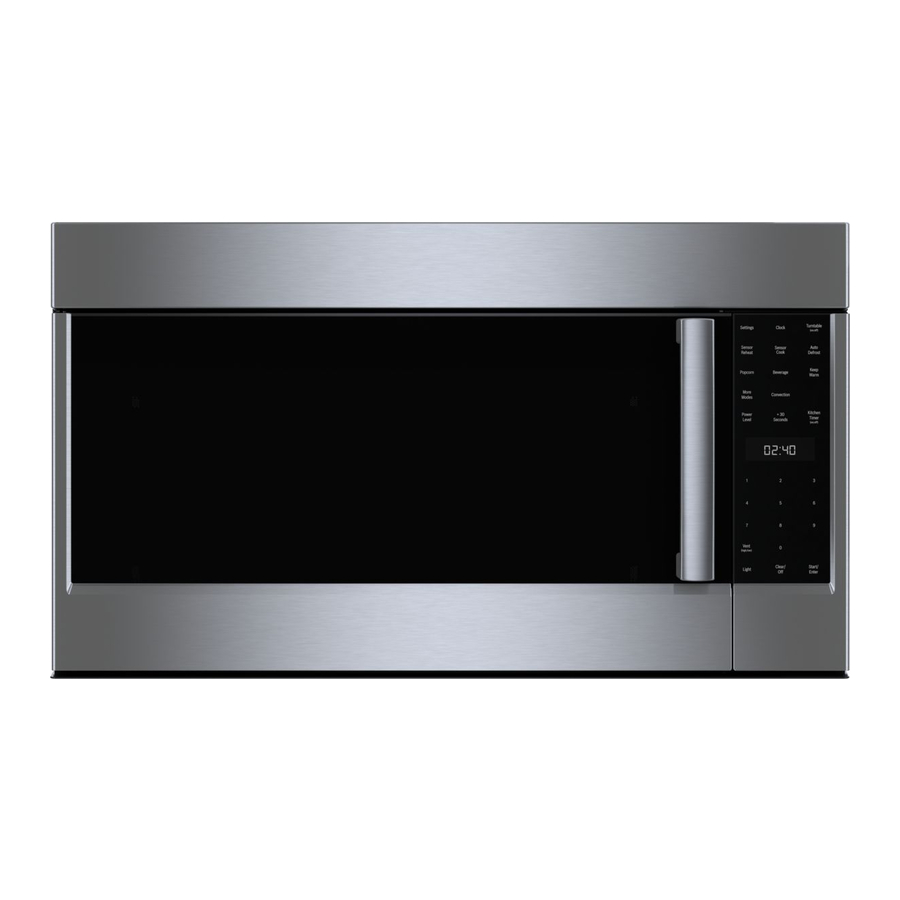
Bosch 800 Series Інструкція з використання та догляду
en-us Home Connect®
Basic setting
Remote Start
Factory setting
1
Factory setting (may vary according to model)
13.2 Changing the basic settings
Tip: Connect your appliance to a mobile device. You can
conveniently change all settings using the
Home Connect® app.
→  "Home Connect® quick start", Page 22
Press
⁠ .
1.
To open the basic settings, press the
2.
seconds.
→  "Controls", Page 8
Press the
button repeatedly until the display shows
3.
the required setting.
Press
repeatedly until the display shows the right
4.
value.
You can change one or more settings.
To store the settings, press the
5.
14 Home Connect®
Home Connect®
This appliance is network-capable. Connecting your
Home Connect®
appliance to a mobile device lets you control its functions
via the Home Connect® app.
The Home Connect® services are not available in every
country. The availability of the Home Connect® function
depends on the availability of Home Connect® services in
your country. You can find information on this at:
www.home-connect.com.
To be able to use Home Connect®, you must first set up
the connection to the WLAN home network (Wi-Fi
the Home Connect® app.
1
Wi-Fi is a registered trade mark of the Wi-Fi Alliance.
2
Apple App Store und the Apple App Store logo are trademarks of Apple Inc. Google Play and the Google Play logo are
trademarks of Google LLC.
22
Display text
Selection
rc:01
rc:00 - rc:02
rE:
Starting with
Y:ES
Confirming with
button for 3
button for 3 seconds.
1
) and to
Description
Activate or deactivate
→  "Remote Start ", Page 23 .
The following settings are possible:
¡ With the setting "rc:00", the option is
permanently deactivated.
¡ With the setting "rc:01", the option can be
selected via the
→  "Activating Remote Start ", Page 23
¡ With the setting "rc:02", the option is
permanently activated.
The basic setting is not available until you
have connected the appliance with the
Home Connect® app.
→  "Home Connect® ", Page 22
Restore changed settings to the factory
settings.
The settings for initial use must be
configured.
The Home Connect® app guides you through the entire
registration process. Follow the instructions in the
Home Connect® app to implement the settings.
Tips
¡ Consult the Home Connect® documents supplied.
¡ Follow the instructions in the Home Connect® app as
well.
Note: Also note the safety information in this instruction
manual and ensure that it is also observed when operating
the appliance using the Home Connect® app.
14.1 Home Connect® quick start
Connect your appliance to a mobile device quickly and
easily.
Setting up the Home Connect® app
Install the Home Connect® app on your mobile device.
1.
2
Start the Home Connect® app and set up access for
2.
Home Connect®.
The Home Connect® app guides you through the entire
registration process.
button.