Bosch HBG13B550B Інструкція з експлуатації - Сторінка 8
Переглянути онлайн або завантажити pdf Інструкція з експлуатації для Духовка. Bosch HBG13B550B. Bosch HBG13B550B 24 сторінки. Exxcel built-in single 3d hot air oven brushed steel
Також для Bosch HBG13B550B: Інструкція з монтажу Посібник з монтажу (14 сторінок)
Before using the oven for the first time
In this section, you can find out what you must do before using
your oven to prepare food for the first time. First read the
section on Safety information.
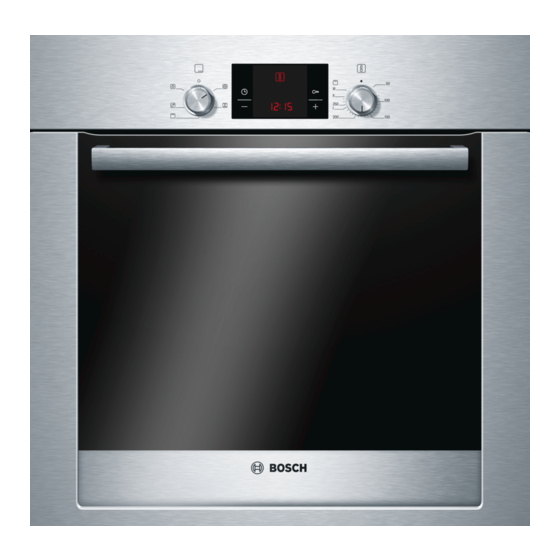
Setting the clock
After the appliance has been connected, the
four zeros light up in the display. Set the clock.
Press the
button.
0
1.
The time 12:00 is shown in the display.
Use the
or
button to set the clock.
@
A
2.
After a few seconds, the time that has been set is adopted.
Setting the oven
There are various ways in which you can set your oven. Here
we will explain how you can select the desired type of heating
and temperature or grill setting. You can select the oven
cooking time and end time for your dish. Please refer to the
section on Setting the time-setting options.
Type of heating and temperature
Example in the picture:
<
The function selector is used to set the type of heating.
1.
Setting the time-setting options
Your oven has various time-setting options. You can use the
button to call up the menu and switch between the individual
functions. All the time symbols are lit when you can make
settings. The brackets [ ] show you which time-setting option
you have currently selected. A time-setting option which has
already been set can be changed directly with the
button when the relevant time symbol is in brackets.
Timer
You can use the timer as a kitchen timer. It runs independently
of the oven. The timer has its own signal. In this way, you can
tell whether it is the timer or a cooking time which has elapsed.
Press the
button once.
0
1.
The time symbols light up in the display and the brackets are
around
.
U
Use the
@
or
A
button to set the timer duration.
2.
Default value for
button = 10 minutes
@
Default value for
button = 5 minutes
A
8
symbol and
0
3D hot air at 190 °C.
@
Heating up the oven
To remove the new cooker smell, heat up the oven when it is
empty and closed. An hour of
for this purpose. Ensure that no packaging remnants have been
left in the cooking compartment.
Use the function selector to set
1.
Set the temperature selector to 240 °C.
2.
After an hour, switch off the oven. To do so, turn the function
selector to the off position.
Cleaning the accessories
Before you use the accessories for the first time, clean them
thoroughly with hot soapy water and a soft dish cloth.
Set the temperature or grill setting using the temperature
2.
selector.
The oven begins to heat up.
Switching off the oven
Turn the function selector to the off position.
Changing the settings
The type of heating and temperature or grill setting can be
changed at any time using their respective selectors.
After a few seconds, the time setting is adopted. The timer
0
starts. The [
duration counts down. The other time symbols go out.
The timer duration has elapsed
or
A
A signal sounds. 00:00 is shown in the display. Use the
button to switch off the timer.
Changing the timer duration
Use the
or
@
seconds, the change is adopted.
Cancelling the timer duration
Use the
A
button to reset the timer duration to 00:00. The
change will be adopted after a few seconds. The timer is
switched off.
<
3D hot air at 240 °C is ideal
<
3D hot air.
U
] symbol lights up in the display and the timer
button to change the timer duration. After a few
A
0