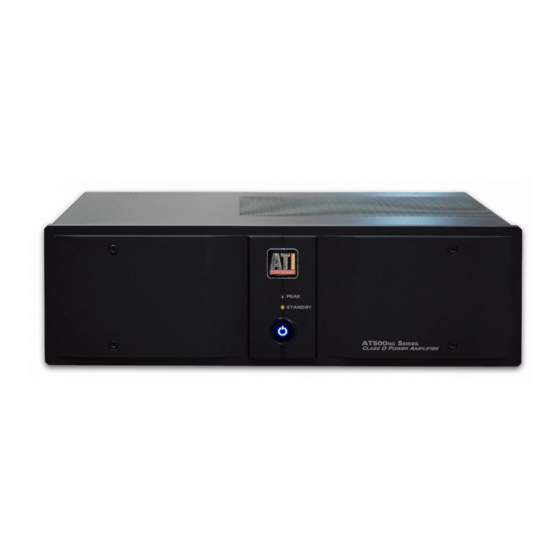
ATI Audio AT5XXNC Посібник користувача - Сторінка 9
Переглянути онлайн або завантажити pdf Посібник користувача для Підсилювач ATI Audio AT5XXNC. ATI Audio AT5XXNC 12 сторінок. Class d 2 to 8-channel power amplifier

OPERATION
Before turning on the AT5XX
, ensure that all precautions and warnings have been carefully reviewed and
NC
adhered to. Damage to the amplifier caused by improper operation, wiring and/or ventilation will not be cov-
ered under warranty and ATI will not be liable for any consequential damage or loss.
Connecting your AT5XX
Amplifier
NC
With the amplifier unplugged, connect the signal outputs of the preamp/processor to the desired input (XLR
(A) or RCA (B) of the amplifier . Use the toggle switch (C) to the r ight of each RCA input (as viewed
from the rear) to select the desired input. Connect the amplifier's output to the input of the speaker that is in-
tended to be driven.
Connect a 12V trigger source to the STANDBY trigger input of the AT5XXNC using the supplied cable or a
cable with a 3.5 mm monophonic plug to enable remote turn-on and turn-off.
Setup and Operation
Turn the output volume of the preamp/processor, or other source device, down all of the way.
Plug in the AT5XX
amplifier into an appropriate AC power source. The front panel switch will dimly illu-
NC
minate and pulse slowly. The amplifier is in the standby mode and draws less than 1 watt from the wall outlet.
Depress the ILLUMINATED POWER SWITCH. The switch will stop pulsing and the STANDBY LED will
illuminate. After the turn-on process is complete, the front panel switch will illuminate fully, the STANDBY
LED will tur n off and the amplifier will enter playback mode.
Slowly bring the output volume of the preamp/processor up to an audible level.
Remote Triggers
When the rear panel STANDBY trigger jack receives a 3-24 VDC signal, the AT5XX
will change its operat-
NC
ing state from STANDBY to ON. When the signal is removed, the amplifier will return to STANDBY.
4
