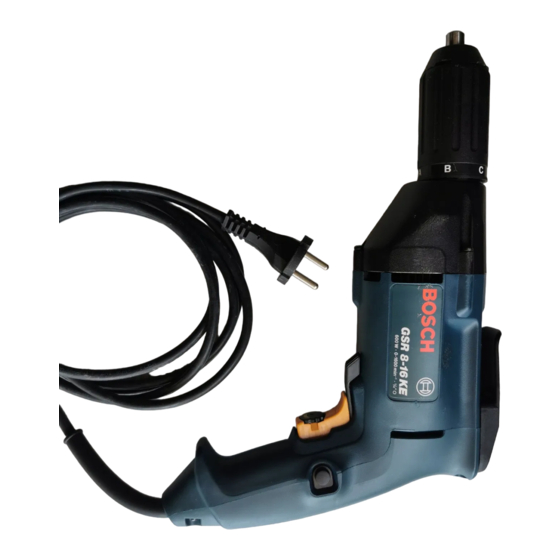
Bosch Professional GSR 8-16 KE Інструкція з експлуатації Посібник з експлуатації - Сторінка 10
Переглянути онлайн або завантажити pdf Інструкція з експлуатації Посібник з експлуатації для Електроінструмент Bosch Professional GSR 8-16 KE. Bosch Professional GSR 8-16 KE 47 сторінок.

Intended Use
The machine is intended for driving in and loos-
ening screws. For screws with machine threads,
a low speed setting is required.
For Your Safety
Read all safety warnings and all
instructions. Failure to follow the
warnings and instructions may result
in electric shock, fire and/or serious
injury.
Additionally, the general safety instructions either
in the enclosed booklet or those added in the
centre of these operating instructions must be ob-
served.
SAVE THESE INSTRUCTIONS.
Hold the machine with a firm grip. High re-
action torque can briefly occur while driving in
and loosening screws.
Secure the workpiece. A workpiece clamped
with clamping devices or in a vice is held more
securely than by hand.
Always wait until the machine has come to
a complete stop before placing it down. The
tool insert can jam and lead to loss of control
over the power tool.
Do not use a machine with a damaged
mains cable. Do not touch the damaged ca-
ble and pull the mains plug when the cable
is damaged while working. Damaged cables
increase the risk of an electric shock.
Connect machines that are used in the
open via a residual current device (RCD).
Changing the Tool
Insert the screwdriver blade directly into the tool
holder or when using screwdriver bits, addition-
ally use the universal bit holder.
Starting Operation
Observe correct mains voltage: The voltage of
the power source must agree with the voltage
specified on the nameplate of the machine.
Equipment marked with 230 V can also be con-
nected to 220 V.
10 | English
Switching On and Off
To start the machine, press the On/Off switch 6.
The machine runs with variable
speed between 0 and maximum, de-
pending on the pressure applied to
the On/Off switch 6. Light pressure
results in a low rotational speed thus
allowing smooth, controlled starts.
Lock the pushed On/Off switch 6 by pressing the
lock-on button 5.
To switch off the power tool, release the On/Off
switch 6. If the switch is locked, briefly press the
On/Off switch 6, and then let go.
Speed Preselection
Preselect the required speed with the thum-
bwheel 7 (also during running).
After longer periods of working at low speed, al-
low the machine to cool down by running it for ap-
prox. 3 minutes at maximum speed with no load.
Reversing the Rotational Direction
Operate the rotational direction switch 8 only
at a standstill.
Set the rotational direction switch 8 to R (right-
hand rotation) or L (left-hand rotation). (When the
On/Off switch 6 is actuated, the rotational direc-
tion switch 8 is locked.)
Setting the Torque
With the torque setting ring 2, the required torque
can be variably adjusted. The torque scale 3 is
used as an adjustment aid.
Torque Scale 3
Minimal torque setting,
e. g. for small screws, soft
materials.
Adjust the torque setting in such a manner that
the safety clutch disengages and thus prevents
the tool holder from turning, as soon as the screw
is screwed flush into the material. Select a high
setting for unscrewing.
When a lower torque than 5 Nm is required, the
speed must be reduced with the thumbwheel for
speed preselection 7.
The required torque adjustment depends on the
screw diameter, the screw quality and the type of
screwed connection. Through practical testing,
determine the setting of the torque setting ring 2
with which the screws are screwed flush into the
material.
Maximum torque
setting, e. g. for
large screws, hard
materials.
3 609 929 327 • 9.10.06
