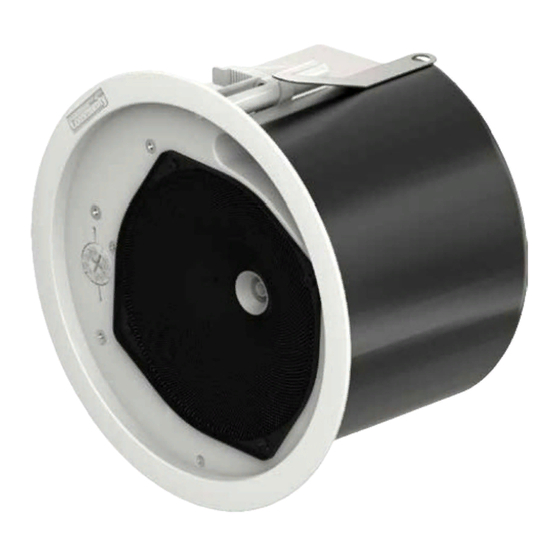
Community C6 Посібник з монтажу та експлуатації - Сторінка 10
Переглянути онлайн або завантажити pdf Посібник з монтажу та експлуатації для Спікери Community C6. Community C6 16 сторінок. 4.5", 6.5", 8" full-range c series coaxial ceiling loudspeakers
Також для Community C6: Посібник з монтажу та експлуатації (20 сторінок)

Installation in the Ceiling
3. Make sure mounting clamps are tight against sides of back can before
sliding the loudspeaker into the hole, aligning it so that the mounting clamps
are nearest to the two bridge support rails, labels on the loudspeaker face
indicate the position of the mount clamps and the required alignment.
Before sliding the back can into the ceiling hole, slightly bend each Drop-
Stop™ tab outward from the back can 0.5" (12 mm). When you press the
can fully into place, the two spring-loaded Drop-Stop™ tabs will spread
atop the bridge support rails, and you may hear them "snap" into position;
you can now continue without having to hold the loudspeaker in place.
The Drop-Stop™ tabs are designed to drop into the Tile Bridge support
rails channels, they will not work properly if misaligned. See the note and
Figures 6 and 7 below.
Note: If you're using loose wires, rather than conduit, first connect the wires to the
terminal block atop the loudspeaker assembly, and secure them with the top cover/
strain relief, before installing the can.
4. Locate the two Phillips-head actuators around the perimeter of the
loudspeaker's front flange (see Figure 8). Using a #2 Phillips screwdriver
twist each actuator clockwise until you feel resistance as the clamps
press against the support rails (Figure 9).
5. Repeat for as many loudspeakers as you need to install.
Figure 6. Position of loudspeaker relative to bridge
support rails during installation
Align the flat sides of the can with the tile support rails
Figure 8. Turning the two loudspeaker clamp actuators
clockwise securely locks the unit into the ceiling.
Page 10
(continued)
Figure 9. Mounting clamps shown gripping tile support
bridge rails after the clamp actuators have been tightened.
Installation and Operation Manual
Important: Always
attach a safety cable to
one or both seismic
safety tabs (at the top of the
Drop-Stop™ tabs) in all
installations. Failure to do so
could result in injury or even
death in the event of a failure of
the primary mounting support
system.
Figure 7. Drop-stop tabs (highlighted) snap out over
bridge support rails
(Temporarily holds unit in place even before you secure
it with the mounting clamps)
C SERIES Ceiling Loudspeakers
