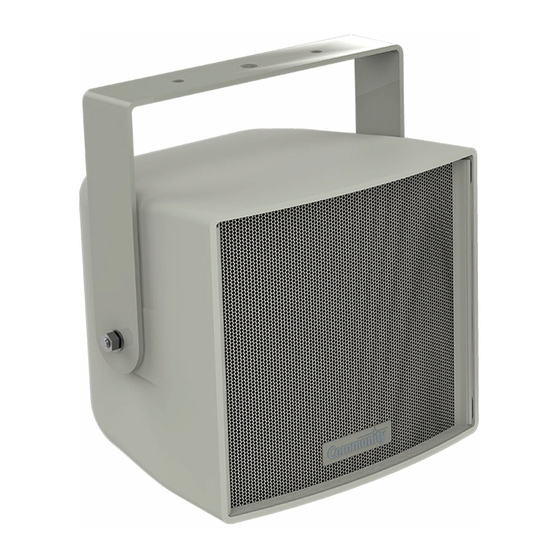
Community R.15COAX Посібник з монтажу та експлуатації - Сторінка 6
Переглянути онлайн або завантажити pdf Посібник з монтажу та експлуатації для Спікери Community R.15COAX. Community R.15COAX 17 сторінок. R series
Також для Community R.15COAX: Посібник з монтажу та експлуатації (13 сторінок)

INSTALLATION
BEFORE YOU START
q Read all instructions and gather tools necessary before
starting the installation. Please read all safety instructions
and warnings regarding rigging and installation of the
loudspeaker. The "q" preceding each step can be used to
check off each step as it is completed (or applicable).
Every effort has been made to ensure that the information
contained in this manual was complete and accurate at
the time of printing. However, due to ongoing technical
advances, changes or modifications may have occurred
that are not covered in this publication. The latest version of
this manual is always available at www.communitypro.com.
The revision date can be found on the rear cover.
MOUNT THE LOUDSPEAKER YOKE
Attach the yoke to the support structure prior to mounting
the loudspeaker enclosure. Community offers several pole
mount kits to facilitate mounting loudspeakers to poles.
Follow instructions included with those items for proper
installation of the loudspeaker.
q Determine the appropriate location and mount the yoke
to the support structure using properly rated, corrosion-
resistant fasteners. For mounting to a round pole, use a
properly rated mounting system. Mounting hardware is not
included and should be specified by a structural engineer.
For the R.35 models, ensure that the wider angled portion
of the yoke will be at the rear of the loudspeaker when in
the vertical position, or toward the bottom of the enclosure
in the horizontal position. Always use the holes in line with
the larger center hole as the primary mounting points. See
Figures 2a (R.15) and 2b (R.35) for yoke orientations.
Additional yokes for pan/tilt and down-firing mounting
options are available (see Accessories section). Custom
brackets may be used, but must be approved by a structural
engineer and rated for the expected load.
Page 6
Installation and Operation Manual
R.15 Yoke
Figure 2a. Orient the R.15 yoke
R.35 Yoke
Figure 2b. Orient the R.35 yoke correctly
R.15COAX, R.35COAX, R.35-3896
Mount using holes in the
yoke. Large hole in center
notes center of gravity
when loudspeaker is
suspended from above.
Use holes aligned with large
center hole as primary mounting
points - these are aligned with the
center of gravity. Use other holes
as secondary reinforcement.
Orient angled
side to the rear of
the loudspeaker
