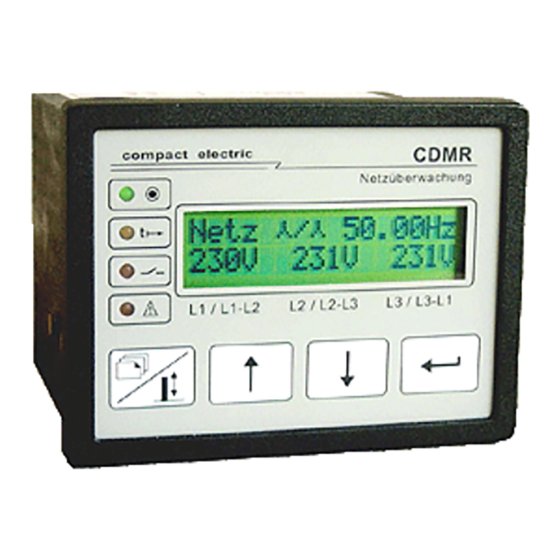
Compact Electric CDMR-61 Посібник користувача - Сторінка 6
Переглянути онлайн або завантажити pdf Посібник користувача для Реле Compact Electric CDMR-61. Compact Electric CDMR-61 13 сторінок. Digital line monitoring relay

Line Monitoring Relay CDMR-61
Refer to fig.3 and fig.4 for additional information.
Undervoltage U<
Stufe1 K_2___<-
Trip Voltage U<
[ 23–300]
210V
Lock-out Nr.xxx
release?
yes<-
Enter Security-
Code....... 000
Trip Voltage U<
[ 23–300]
210V
There are 3 ways to continue:
- by the "ENTER" key or
- by the
↑
key to the previous menue
- or by the
↓ ↑
keys pressed simultaneously branch to the line value menue (= "menue-reset").
Assignment of output relays to individual monitoring functions and negation of output relays
Select the "Output-Relay nnn" menue in the detail-menue chain of the desired monitoring function (proceed as described
in step 1-3 above). The menues look like this:
Output-Relay U<<
k1 -- -- K4 --
4. After execution of step 3 the characters "k1" are flashing. With the
(cancelled = "--").
5. Press ENTER to save the assignment for output relay K1 and move flashing to the position of K2. Select assignment
of K2 and press ENTER. Proceed in this way up to K5.
6. To step out of the menue press any key except the M/V key, to restart the procedure from step 4 press the M/V key
Negation of K1 ...K5 function
Select the menue "General Settings \ Negated Relays":
Negated Relays
= k1 K2 K3 K4 K5
Security Code / Change-access release
To prevent unauthorized changing of setting values via the front panel, a three-digit security code can be stored in the
data memory. It has to be entered to get permission to alter parameter values.
If the security code is 000, the security sequence is not active and is replaced by a simple menue with a self-
incremented change-access counter (see step 3 above). The value of this counter may be used as indication of any
CDMR61e_man_A1.doc
/ User Manual
1. Starting from the standard line measuring values menue step through the main-menue
level with the keys
↓
or
2. Branch to the detailed-menue chain with the "ENTER" key and step up / down with the
↓
and
↑
keys to the desired parameter menue. In the lower display line the setting range of the
parameter is put in brackets, the parameter value is displayed on the right.
3. Press the "M/V" key (switches
Now there may be two situations:
Case a)
no security code is selected (Code = 000): A "release menue" (see left drawing) is displayed,
"xxx" is a self-incremented change-access counter. Confirm the change-access release with
the ENTER key. (If you entered this menue inadvertently you may escape from the menue
with
↓
or
↑
key).
Case b)
(If you entered this menue inadvertently you may escape from the menue with
Enter the security code: first the leftmost number flashes, set the correct value with the
↓
or
↑
keys, press ENTER, now the mid-number flashed, proceed as just before, press
ENTER, now the rightmost number flashes, set the correct value and terminat with ENTER.
4. Now the previous parameter menue is displayed again with flashing parameter value. This
value may be altered with the
decrement function). Press the ENTER key to store and activate the new setting value. The
display returns to static. (If the changes shall be cancelled, press "M/V" key instead of ENTER
and the previous setting value will be restored).
↓
key to the next menue,
In the left example the monitoring function U<< is assigned to relays k1 and K4. The lower
case character of k1 indicates, that this relay is negated. It is energized in the normal state
and released in the tripped state. The "--" characters mark the positions of the (not as-
signed) relays K2,K3 and K5.
The configuration procedure is equivalent to step 4 - 6 above. An upper case character indi-
cates normal operation, a lower case character indicates negated operation. The relay
codes K1 -K5 are consecutively flashing and may be toggled between upper and lower case
character by
keys.
↓↑
↑
to the main menue of the desired function (e.g. U<).
↓↑
keys from Menue scrolling to Value changing).
↓↑
keys (keeping a key pressed starts an auto-increment / auto-
↓↑
keys the assignment can be set or cancelled.
Page 6
↓
or
↑
k ey).
