Bose Companion 3 Series II Посібник користувача - Сторінка 12

Переглянути онлайн або завантажити pdf Посібник користувача для Спікери Bose Companion 3 Series II. Bose Companion 3 Series II 40 сторінок. Multimedia speaker system
Також для Bose Companion 3 Series II: Посібник користувача (40 сторінок), Посібник користувача (22 сторінок), Посібник користувача (10 сторінок), Посібник користувача (20 сторінок), Посібник користувача (26 сторінок), Посібник з швидкого налаштування (2 сторінок), Посібник з швидкого налаштування (2 сторінок), Детальна інструкція по збірці (2 сторінок), Посібник з монтажу (20 сторінок), Технічні характеристики (6 сторінок), Брошура та технічні характеристики (4 сторінок), Посібник користувача (19 сторінок), Посібник з експлуатації (36 сторінок), Посібник з експлуатації (16 сторінок)
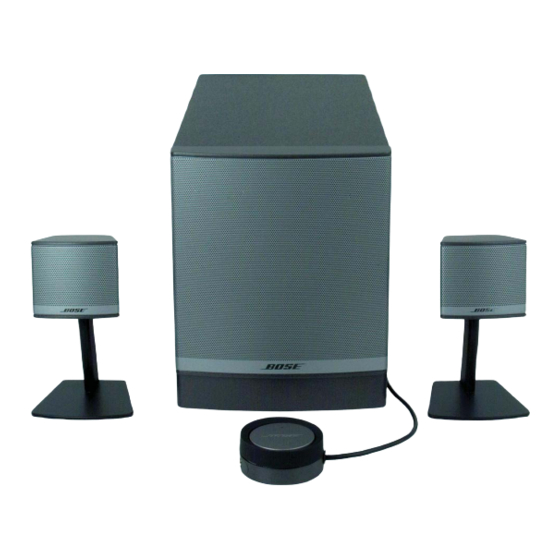
Bose Companion 3 Series II Посібник користувача
System Setup

Making connections

Figure 6
Making connections

Additional Connections

10
Labeled jacks on the rear of the Acoustimass
the system permit fast and easy hookup (Figure 6).
CAUTION: Do not plug the Acoustimass module into an AC power (mains) outlet until all the
source components are connected to the module.
Right speaker

To Connect:

• Speakers to the Acoustimass module; Plug each speaker connector into the corresponding
"L" or "R" jack marked "To Satellite", on the rear of the module.
• Control pod to the Acoustimass module; Plug the control pod cable into the jack marked
"Control Pod", on the rear of the Acoustimass module.
• Sound source to the Acoustimass module; Connect one end of the audio input cable to the
input from the computer jack
your computer's audio output jack.
Note: If your computer only has two phono jacks, instead of a stereo mini jack, you will need
an audio adapter cable. Connect the audio input cable from your module to the adapter cable.
Then insert the ends of the adapter cable into your computer's stereo phono jacks.

To make the final connection and power the system

1. Insert the small connector end of the power cord into the AC INPUT jack on the module.
2. Insert the large end of the cord into an AC power (mains) outlet.
3. Turn the power switch, located on the back of the Acoustimass module, to ON (|).
The LED on the control pod will light up yellow indicating standby mode.
To connect an additional sound source:
To connect an external CD or MP3 player to your system, plug the cable from the sound
source output jack into the input jack on the control pod. See Figure 7 on page 11.
To connect headphones:
Insert the headphone connector into the headphone jack
Note: Connecting headphones will silence the output from your speakers.
®
module and the custom cables supplied with
Bass compensation
To Satellites
ı
ı
Input from
computer
To Control pod
on your Acoustimass module. Connect the other end to
on the control pod.
Left speaker