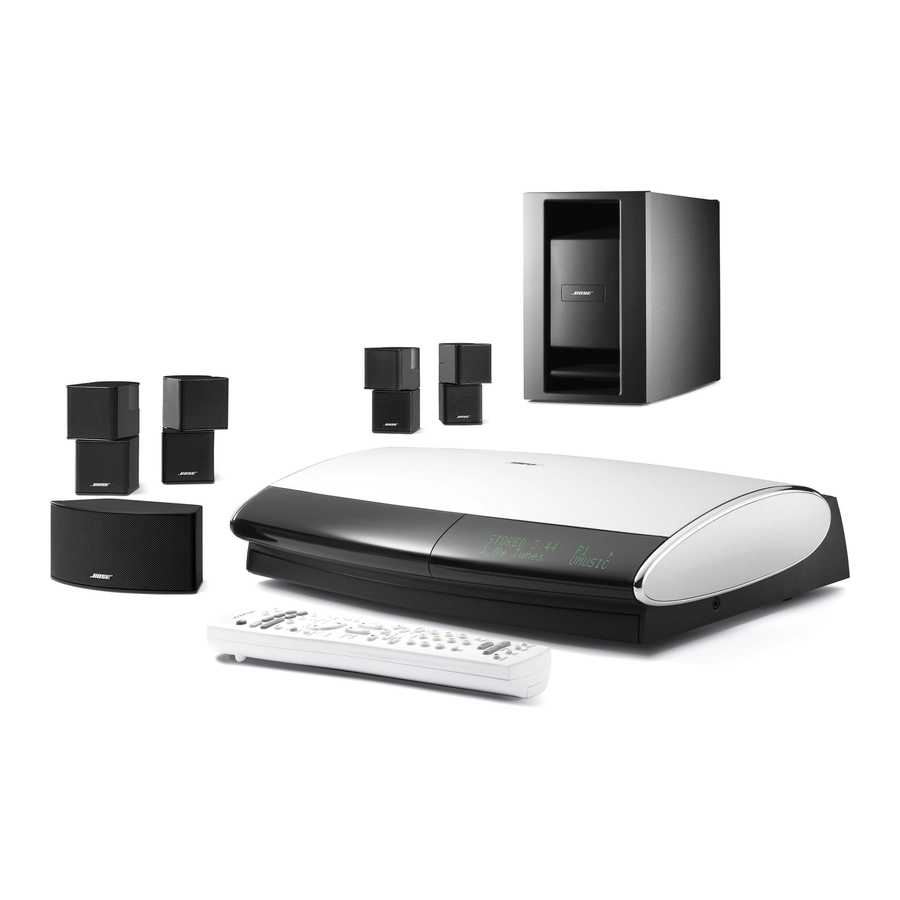
Bose Lifestyle Music Center Посібник з експлуатації - Сторінка 37

Переглянути онлайн або завантажити pdf Посібник з експлуатації для Стереосистема Bose Lifestyle Music Center. Bose Lifestyle Music Center 46 сторінок. Home entertainment systems with vs-2 video enhancer
Також для Bose Lifestyle Music Center: Посібник з експлуатації (48 сторінок), Посібник з експлуатації (48 сторінок), Посібник з монтажу (38 сторінок), Посібник користувача (19 сторінок), Посібник користувача (29 сторінок), Посібник з монтажу (44 сторінок), Посібник користувача (42 сторінок), Інформація про налаштування (1 сторінок), Посібник користувача (26 сторінок), Інструкції по розширенню (38 сторінок), Посібник з експлуатації (42 сторінок), Посібник з експлуатації (48 сторінок), Посібник користувача (12 сторінок), Посібник із швидкого старту (8 сторінок), Посібник з монтажу (30 сторінок), Посібник з монтажу (39 сторінок)

Bose Lifestyle Music Center Посібник з експлуатації
Setting
up a second
listening
zone
Figure
14
Miniature zone code
switches
Your LIFESTYLE ®home entertainment system can direct sound from one or two sound
sources (such as CD, AM/FM tuner, TAPE, or AUX) to two different listening zones at the
same time.
What
is a zone?
Each listening area, whether a room or a group of rooms (including outdoor areas), is called a
zone. Your primary listening area is set up as zone 1.
What
do I need
for setting
up a second
zone?
• A Bose ®powered speaker system that is compatible with your home entertainment
system.
An existing stereo system can also be connected (special adapter required).
• The appropriate LIFESTYLE ®system cable to connect the zone 2 speaker system to the
SPEAKER ZONES 2 connector on the rear panel of the media center.
• A second LIFESTYLE ®system remote control to operate the zone 2 sound.
See your dealer or contact Bose for information on obtaining additional powered speakers,
remote controls, cables, and adapters for connecting
additional equipment.
How
do I set
up a second
remote
to control
zone
22
1.
Remove the battery compartment
cover from the back side of the zone 2 remote.
2.
Locate miniature switches 5 through 9 (Figure 14) and set them according to the table.
3.
Make sure the house code switches (1,2, 3, and 4) match those on your first remote.
4.
Re-install the battery compartment
cover back.
Zone Code Switches
5
6
7
8
9
To control zone 1: Down
Up
Down Down Down
To control zone 2:
Up
Down
Up
Up
Down
AM259 776_O1_V.pdf
October 30, 2001
35