Bose Lifestyle Music Center Посібник з монтажу - Сторінка 13

Переглянути онлайн або завантажити pdf Посібник з монтажу для Стереосистема Bose Lifestyle Music Center. Bose Lifestyle Music Center 39 сторінок. Home entertainment systems with vs-2 video enhancer
Також для Bose Lifestyle Music Center: Посібник з експлуатації (48 сторінок), Посібник з експлуатації (48 сторінок), Посібник з монтажу (38 сторінок), Посібник користувача (19 сторінок), Посібник користувача (29 сторінок), Посібник з монтажу (44 сторінок), Посібник користувача (42 сторінок), Інформація про налаштування (1 сторінок), Посібник користувача (26 сторінок), Інструкції по розширенню (38 сторінок), Посібник з експлуатації (42 сторінок), Посібник з експлуатації (48 сторінок), Посібник з експлуатації (46 сторінок), Посібник користувача (12 сторінок), Посібник із швидкого старту (8 сторінок), Посібник з монтажу (30 сторінок)
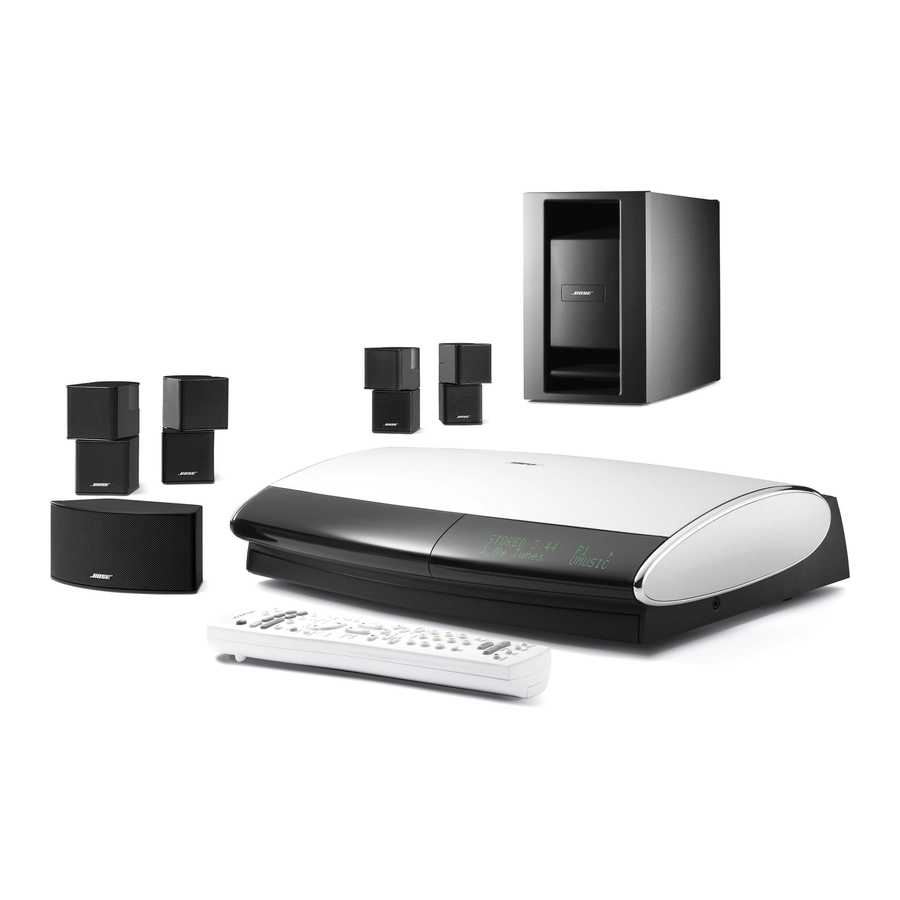
Bose Lifestyle Music Center Посібник з монтажу
English
Deutsch
Español
1
Connecting Jewel Cube
Front and rear
left, right
speakers
The cables for these speakers have a customized plug
that fits into the connector only one way (Figure 4).
A. Notice the marking on each cable plug and match it to
the speaker in that location:
• Front speaker cable plugs are marked L (left), R
(right), and C (center).
• Rear speaker cable plugs are marked LR (left rear)
and RR (right rear).
B. Orient the plug with its small knob up, so the plug slips
easily into a notch on top of the connector (Figure 4).
C. Insert the plug fully into the connector on the rear of its
respective speaker. For example, the plug marked L
connects to the speaker at the left front of your room.
Figure 4
Jewel Cube speaker connections
Plug label: R, L,
RR, or LR
Français
Italiano
Nederlands

Connect the speaker cables to the speakers

The speakers you have are one of the two types shown here. They differ in how the cables
connect to them.
Before you start, route the cables around your room. To make the rear speaker cables reach
each of the rear speakers, you can unzip the cables by simply pulling them apart.
Follow the instructions for the type of speakers you have.
®
speakers
Front center
speaker
Knob
Plug label: C
Svenska
Connecting array speakers
Front and rear
left, right
speakers
The cables for these speakers have wire ends that con-
nect to red and white connection terminals (Figure 5).
A. Notice the marking on the red collar on the speaker
cable and match it to the speaker in that location:
• Front speaker cables are marked L (left), R (right),
and C (center).
• Rear speaker cables are marked LR (left rear) and RR
(right rear).
B. Press the terminal tab to insert each wire into the
proper connector. Be sure to match the red-collared
wire to the red speaker connection terminal to maintain
proper + and – polarity.
Figure 5
Array speaker connections
Terminal tab
Wire label: L, R,
LR, or RR
B
S
C
ASIC
YSTEM
ONNECTIONS
Front center
speaker
Wire label: C
13