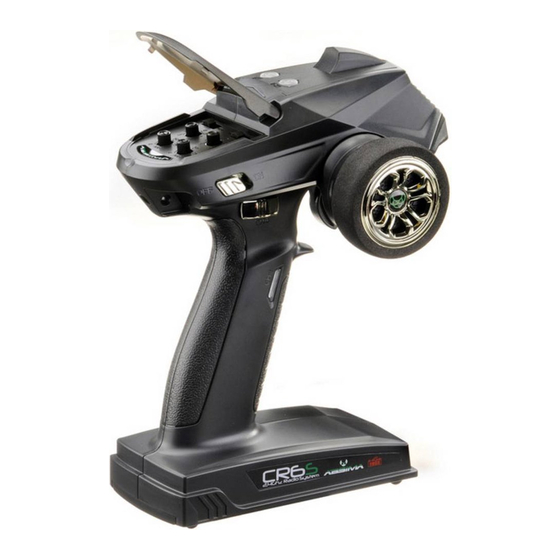
Absima CR6S Інструкція з експлуатації - Сторінка 14
Переглянути онлайн або завантажити pdf Інструкція з експлуатації для Пульт дистанційного керування Absima CR6S. Absima CR6S 17 сторінок. 2,4ghz radio system

LED lights:
Direction control mode for servo normal steering:
Blue light is always on.
Mixed direction control mode for tank: Red light is always on.
Low voltage warning: Light flashes slowly.
Enter into the Programming mode: Light fast flashing.
Channel 5 and Channel 6:
Channel 5
Press one time CH5 button, indicator LED will stay on
and connected servo will move left to end point
for 38% and hold.
Press second time, LED off and connected servo will
move back to normal.
Channel 6
Press one time CH6 button, indicator LED will stay on
and connected servo will move right to end point for 38%
and hold.
Press second time, LED off and connected servo will move back to normal.
(Both movement are fxed at factory setting and not adjustable)
MENU SETTING:
Enter programming mode
Before power on transmitter, turn wheel backward to the maximum, at the same time pull the trigger
backward to the maximum.
Hold the position and power on transmitter
Release the wheel and trigger, press 3nd channel button, panel indicator light will go flashing,
programming mode on ready for setting.
3. Power on
Route setting of Channel 1 and Channel 2 / Channel 3 / Channel 4
After enter programming mode
Channel 1/2 setting
Step 1. >>Turn the steering wheel clockwise point to the angle need for right steering
Turn the steering wheel anti-clockwise point to the angle need for left steering
Step 2. >>Pull the trigger point to the route need for throttle forward
Push the trigger point to the route need for throttle backward (Brake)
Step 3. >>Only after Step 1 and Step 2, cease for 3 second then press CH3 button for confirm setting and finish
(indicator light stay on). If route of Channel 3 and Channel 4 need to do setting also, no need to
press CH3 for confirmation, just go to Step 4.
If only Channel 4 need to do setting, then just go to Step 5.
Channel 1 route setting
1. Turn wheel anticlockwise
to the end and hold
2. Pull trigger to the end and hold
Channel 2 route setting
LED light
4. Release wheel and
trigger back to normal
5. Press Channel 3 button,
LED light go flashing
Channel 3 button for confirmation
