anko LD-K3078 Посібник користувача - Сторінка 6
Переглянути онлайн або завантажити pdf Посібник користувача для Чайник. anko LD-K3078. anko LD-K3078 7 сторінок. Cordless water kettle

Then remove the kettle from the power base.
10. Pour the water out slowly to avoid splashing. Do not open the lid while pouring out the water.
* The sieve insert in the spout prevents any larger particles of scale being poured out.
* Do not re-boil stale water. Pour it away and refill with fresh water for boiling.
DANGER– risk of electric shock
* Remove the mains plug from the wall socket before cleaning the kettle.
* The power base, plug and mains cord must not come into contact with water or other liquids.
* The water container must not be immersed in water.
* The product and its parts must not be cleaned in the dishwasher.
IMPORTANT! Damage to exterior
* Do not use caustic, aggressive or abrasive cleaning products for cleaning the kettle exterior.
Cleaning
1. Remove the mains plug from the socket and let the water kettle cool down completely.
2. Wipe the base and power cord with a dry cloth.
3. Wipe the outside of the jug with a slightly moistened cloth.
4. Pull the sieve out of the spout.
5. Rinse it under running hot water.
6. Slide the sieve into the spout as far as it will go.
Descaling
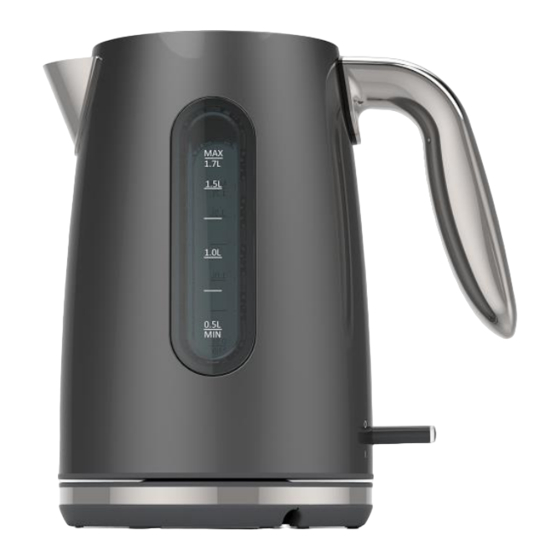
IMPORTANT! during the below process DO NOT fill the kettle more than the Min (0.5L) mark
on the kettle. Filling above the Min. mark will cause over boil and spillage out of the spout.
The kettle must be descaled at regular intervals, especially if the power base is visibly encrusted
with lime scale. Regular descaling saves energy and increases the service life of the kettle.
For ecological reasons, we recommend using a three-to-one (3:1) solution of water and vinegar
or citric acid to descale the kettle.
1. Let the solution soak in the kettle for about an hour, and then bring it to the boil.
2. Thoroughly rinse out the kettle with fresh water.
Alternatively, you may use commercially available kettle cleaning solutions. Please follow the instructions
provided with the cleaning solution.
--CLEANING AND CARE --
6
