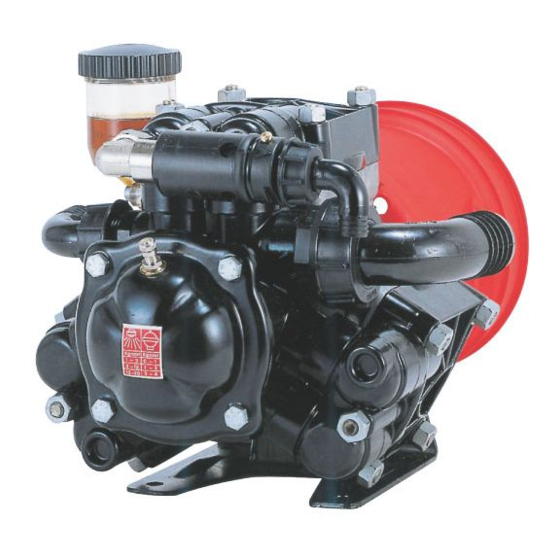
Annovi Reverberi AR 115 bp Інструкція з експлуатації - Сторінка 14
Переглянути онлайн або завантажити pdf Інструкція з експлуатації для Водяний насос Annovi Reverberi AR 115 bp. Annovi Reverberi AR 115 bp 20 сторінок.
Також для Annovi Reverberi AR 115 bp: Посібник (17 сторінок)

Safety recommendations for use
Before start-up, the operator must perform the necessary safety checks.
In the event of leaks from the pressurised pipes, stop the pump at once and remove the cause of the
leak.
Do not operate the pump above the limits set by the manufacturer to increase its performance.
Preliminary checks
If the pump has a pressure accumulator, check its level of inflation, see "Checking the inflation pressure".
Check the fittings of the hoses and the pump's intake and delivery circuits to prevent restrictions, the intake of
air and leaks of liquid.
Check that any ball valves on the pump or distributor are closed.
Check the pump tank oil level as described in the "Checking the oil level" section.
Before putting the pump into operation, check that the pressure regulator knob is turned fully anticlockwise
and the pressure distributor switching lever is in the by-pass position.
Starting and stopping the pump
To start the pump, proceed as described below.
1. When starting the pump, keep the pressure distributor switching lever in the by-pass position until the
pump has primed.
2. Move the distributor switching lever into the pressure regulation position.
3. Turn the distributor knob clockwise to increase the pressure or anticlockwise to decrease it.
4. During the first few hours of operation, check that the oil level in the tank remains between the minimum
and maximum limits. If top-ups are required, use oil of the type shown on the pump dataplate.
To stop the pump, proceed as described below.
1. Reduce the pressure by turning the distributor knob anticlockwise
2. Open the by-pass valve to discharge the pressure.
3. Stop the pump.
English language
INSTRUCTIONS FOR USE
32
6
Use and Installation
