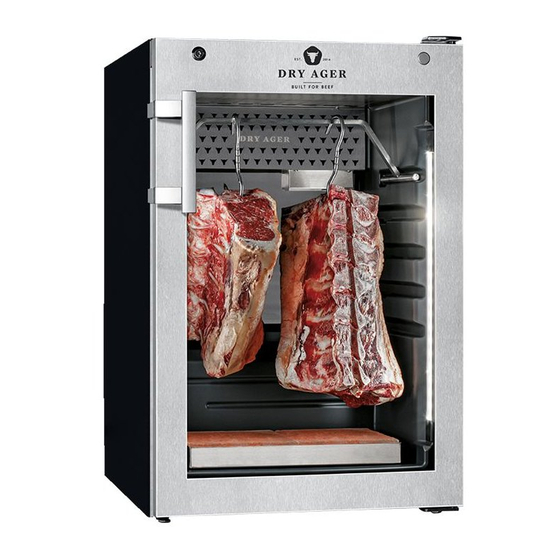
DRY AGER DX 500 Інструкція по заміні - Сторінка 2
Переглянути онлайн або завантажити pdf Інструкція по заміні для Сушарка DRY AGER DX 500. DRY AGER DX 500 2 сторінки.
Також для DRY AGER DX 500: Інструкція з експлуатації Посібник з експлуатації (17 сторінок), Посібник користувача (14 сторінок)

10. Reset the information on the controller.
Please take into account your DRY AGER
model.
Model DX 1000 Premium / DX 1000 Premium S – UVC bulb replacement instructions
1. Compare the UVC bulb type specified in
chapter "Maintenance" in the Use and Care
Manual of your appliance with the bulb type
indicated on the packaging of this replace-
ment bulb. Only use the replacement bulb
if both types match.
4. Wear protection gloves.
7. Pull out the old UVC bulb carefully then
carefully insert the replacement UVC bulb.
Do not remove the outer plastic cover of
the UVC replacement bulb.
10. Reset the information on the controller.
Please take into account your DRY AGER
model.
DRY AGER MANUFAKTUR – LANDIG + LAVA GMBH & CO. KG – Mackstraße 90 – 88348 Bad Saulgau
Phone: +49 7581 90 43 0 – Email: [email protected] – Web: www.dry-ager.com
DX 500 Premium
and SET % RH together and hold
· Press
both keys for a minimum of 2 sec.
· Select with button
the parameter UcH
and confirm it with the key SET % RH. The
displayed value is flashing.
· Press button
. The displayed value chan-
ges to „0".
· After 1 minute the display automatically
switches back into the standard mode.
2. Remove all food from inside the appliance
and store them in a cool place temporarily.
5. Unscrew the cover with a
Phillips screwdriver.
8. Slide the cover back onto the
rear holding.
DX 1000 Premium
· Press
and SET % RH together and hold
both keys for a minimum of 2 sec.
the parameter UcH
· Select with button
and confirm it with the key SET % RH. The
displayed value is flashing.
· Press button
. The displayed value chan-
ges to „0".
· After 1 minute the display automatically
switches back into the standard mode.
DX 500 Premium S
· Press
and
together and hold both keys
for a minimum of 2 sec.
· Std is now shown in the display.
Confirm this with the key .
to select the parameter UcH
· Use the key
and confirm it with the key . The displayed
value is flashing.
· Press button
. The displayed value changes
to „0".
· After one minute, the display automatically
switches back to the standard mode.
3. Switch the appliance off. Then discon-
nect the power cord or turn off the circuit
breaker.
6. Slide the cover out of the rear holding.
9. Screw the cover back into place.
DX 1000 Premium S
· Press
and
together and hold both keys
for a minimum of 2 sec.
· Std is now shown in the display.
Confirm this with the key .
to select the parameter UcH
· Use the key
and confirm it with the key . The displayed
value is flashing.
· Press button
. The displayed value changes
to „0".
· After one minute, the display automatically
switches back to the standard mode.
Landig + Lava GmbH & Co. KG – Weitere Angaben erhalten Sie gerne auf Anfrage.
Technische Änderungen und Druckfehler vorbehalten. Stand: 04/2022
Information Print Product:
Art.-Nr.: OIDX0101
