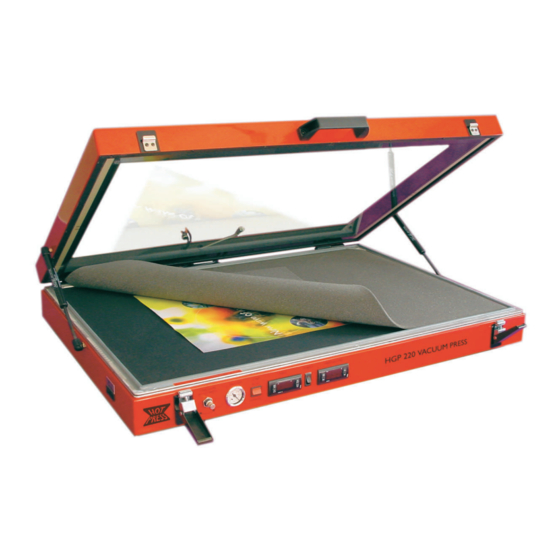
Drytac HOT PRESS HGP360 Посібник оператора - Сторінка 10
Переглянути онлайн або завантажити pdf Посібник оператора для Електроінструмент Drytac HOT PRESS HGP360. Drytac HOT PRESS HGP360 19 сторінок. Heated glass top vacuum press
Також для Drytac HOT PRESS HGP360: Посібник користувача (19 сторінок)

ADJUSTING THE TEMPERATURE CONTROLLER (FARENHEIT)
To adjust the pre-set temperature, press and hold Button1. Then use Button 2 to increase or
Button 3 to decrease the pre-set temperature. Once the desired level is reached, release Button 1
to set the desired temperature.
When current is flowing through the heating element, a small red dot next to OUT1 will glow. In
normal operation, the dot will turn on and off every few minutes as the controller maintains the
glass at the preset temperature.
At the factory, the temperature controller is set to allow a maximum temperature of 239° F. The
factory preset temperature is 194° F.
Illustration 8A: Temperature Controller (F)
ADJUSTING THE TEMPERATURE CONTROLLER (CELSIUS)
To adjust the preset temperature, press Button 1 and L1 will appear for one second. Then press
Button 3 to increase or Button 4 to decrease the preset temperature. Once the desired level is
reached, press Button 1 to set your required temperature.
When the current is flowing through the heating element, a small red dot next to RL1 will glow. In
normal operation, the dot will turn on and off every few minutes as the controller maintains the
glass at the preset temperature.
At the factory, the temperature controller is set to allow a maximum temperature of 115° C. The
factory preset temperature is 90°C.
Should you press Button 4 in error and HY1 displays, just press Button 1 again. Do not change
the value that follows HY1.
OPERATING THE VACUUM PUMP (Timer)
Automatic Control
For automatic control, the pump switch should be set in the AUTO
position. The Timer controls the length of the cycle in minutes and
seconds.
The Timer has three operating modes:
•
Set – Normal mode. The timer is ready to operate.
•
Pgm – Program mode. 6the preset time may be changed.
•
Hand – Manual mode (see "Manual Operation") below.
When in Set mode, the timer displays the preset time.
Illustration 8B: RL1 Dot
10
