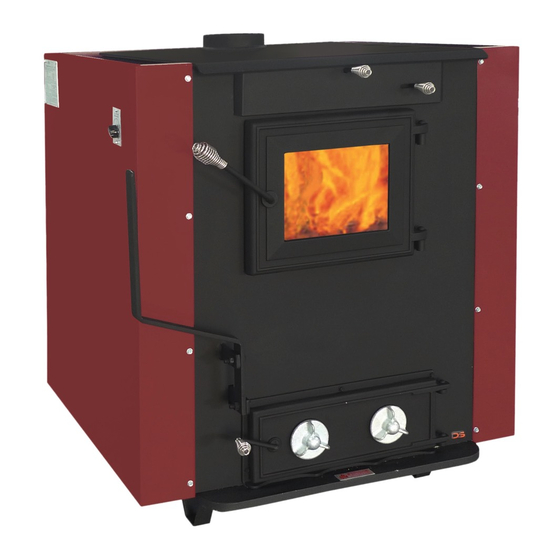
DS Stoves EnergyMAX 110 Посібник користувача - Сторінка 2
Переглянути онлайн або завантажити pdf Посібник користувача для Піч DS Stoves EnergyMAX 110. DS Stoves EnergyMAX 110 12 сторінок.

Manual for EnergyMAX 2017.qxp_Manual for EnergyMAX 7/3/17 9:14 AM Page 2
All D.S. Furnaces Must Be Installed By A NFI Certified Technician
Safety Instructions
1. Read all Instructions before installing or operating any D.S. Furnace
2. You must install smoke and carbon monoxide detectors before you install or operate any furnace.
Check your local code, this installation must meet their rulings.
3. Do not open bottom ash door to increase draft. It is designed only to empty ashes.
4. Never leave furnace doors open when unattended.
5. Do not hook up a coal furnace to an aluminum Type B gas vent. Use a code approved
Class A chimney that is equal or greater than the exhaust on your furnace, and a maximum of 20' high.
6. On all new installs connecting to an existing chimney, a level 2 chimney inspection must be done by a
Certified Chimney Sweep.
7. Clean chimney before installing furnace. If there is creosote attached to the liner you could
create a serious chimney fire.
8. Never leave children unsupervised when they are in same room as furnace. Provide a sturdy barrier to
keep children and pets a safe distance from the furnace, or they could get burned.
9. Keep Furnace area clear from all combustible materials, gasoline, and other flammable vapors
and liquids.
10. Use the required floor protection as shown on the Safety Label on back of furnace.
11. Check the clearance to combustible walls and floors.
12. Do not allow anyone who is unfamiliar with the furnace to operate it.
13. Spend some time with your furnace to become well acquainted with the different settings and how each
setting will affect its burning patterns. It is impossible to state how each setting will affect your furnace.
14. Be extremely careful when removing the furnace ash pan. It may be very hot!
15. Make sure your single wall chimney connectors have at least 3 screws per joint.
16. Do not install this furnace in a mobile home or trailer.
17. Do not use a manual, barometric or automatic damper when burning anything other than anthracite
hard coal.
Operational / Work Practice Standards
1. When starting a fire, set hot air regulator on furnace to HIGH.
2. Completely open bypass damper on front top center of furnace. See page 6 for location.
3. Open fire door and place wads of crushed paper in the firebox.
4. Put kindling on top of paper. NOTE: You can also buy Fire Starter Gel or Bricks made by Rutland
Products. www.rutlandproduct.com OR use charcoal briquettes.
5. Ignite paper or fire starter product.
6. Leave fire door open slightly until the smoke clears out. DO NOT leave stove unattended with the fire
door open!
7. Once kindling is ignited add larger pieces of wood. After wood is burning add a 2" layer of coal.
8. Keep adding coal as necessary, but don't add too much at a time or you could smolder the fire.
9. You do not have an established coal fire until you have 8" of red coals on top of the grates.
10. Once you have an established fire, close your bypass damper, set your regulator to meet your needs
and reload coal as needed. You can add 30 lbs. or more coal per feeding.
11. When tending the firebox always pull the bypass damper slide out prior to opening load door. Open
load door slowly to avoid a "flash back". After closing load door, close the bypass damper.
12. The furnace is designed to burn coal at a predetermined firing rate. Over firing occurs when the ash
door is left open during operation or a highly volatile fuel, i.e. large amounts of small kindling is used.
Do not exceed 600 degrees Fahrenheit on top of furnace.
13. Shake ashes every 12 hours if possible. You must keep your ashes cleared out from under the
grates. This may require emptying your ash pit daily. If there is no air space under the grates, the
grates will warp and become inoperable.
14. Install a manual or barometric damper if your draft exceeds 0.08 inches water column.
2
