AirTies Air 4920 Посібник з монтажу - Сторінка 2
Переглянути онлайн або завантажити pdf Посібник з монтажу для Бездротова точка доступу AirTies Air 4920. AirTies Air 4920 2 сторінки. Home wi-fi mesh kit
Також для AirTies Air 4920: Посібник зі швидкого встановлення (9 сторінок), Посібник зі швидкого встановлення (12 сторінок), Посібник з самостійного встановлення (3 сторінок), Швидкий монтаж Quide (8 сторінок)

IMPORTANT:
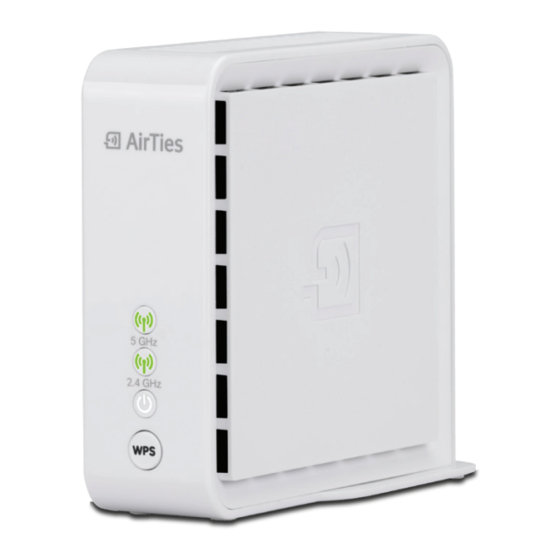
If the 5GHz LED turns red, units are positioned too far apart or too many obstacles are present between the devices.
Move your Air 4920 units closer to each other or realign to avoid obstacles.
Connecting to your new Wi-Fi network:
You can now connect to your new wireless network by referring to the Wi-Fi network name and Wi-Fi password printed
on the underside of the Air 4920 devices.
Changing Wireless Credentials (Optional):
Use the factory default Wi-Fi network name and password printed on the label to wirelessly connect to the MESH
network from a laptop, tablet or smart device.
Open a web browser (Safari, Chrome, Firefox, Internet Explorer, etc.) and browse to "http://air4920.local".
On successful login, a menu will appear on the left of the page. From the menu, click on QUICK SETUP, then, click on
Re-configure Access Point. In the form that appears on the right side of the browser page, enter the personalised
wireless network name and password. Finally, click on the Save button.
IMPORTANT:
The password must be 8 to 63 characters long. Click on the Show Password checkbox to make your password visible
and to check for typing errors.
Wait for 2 minutes for the changes to take effect and propagate to all MESH units.
IMPORTANT:
Please note that if a new Wi-Fi network name and password is chosen (one that your Wi-Fi client devices haven't
connected to before), all client devices will have to be re-associated to the new W-Fi network name.
SUCCESS
OUT OF RANGE
A login page for the Air 4920 will appear. Enter "admin" in
the Username eld. Leave the Password eld blank.
Click on the OK button.
