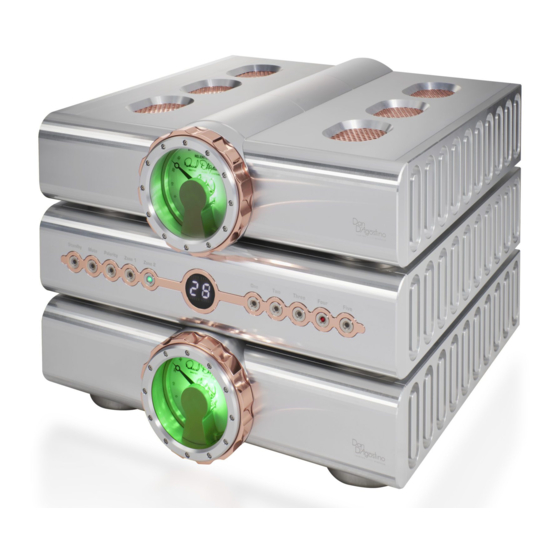
Dan D'Agostino Relentless Посібник користувача - Сторінка 5
Переглянути онлайн або завантажити pdf Посібник користувача для Підсилювач Dan D'Agostino Relentless. Dan D'Agostino Relentless 14 сторінок.

Remote
Control
1
1. Wireless Charging Pad
2. Control touch panel
3. Standby button
4. Back button
MAKI N G CO N N EC TI O N S TO
TH E R ELENTLE S S PR E AM PLI FI ER
Interconnect cables
We recommend the use of high-quality balanced XLR audio interconnect cables with the Relentless
Preamplifier. If you have a source device that does not offer XLR connections, use high-quality
XLR-to-RCA adapters.
First connect the source devices (phono preamplifier, CD player, etc.) to the appropriate inputs.
Be sure to connect each XLR cable (or XLR-to-RCA adapter) to the appropriate XLR jack by pushing
the plug into the jack. To release the plug, push on the small tab atop the jack and gently detach the
plug. Never grasp interconnect cables by the cable itself—you could damage the cable. Use the top
chassis for left channel connections and the bottom chassis for right channel connections.
Note: The Relentless Preamplifier does not incorporate a phono stage section; you must add
an external phono stage to use the Relentless Preamplifier with a turntable. We recommend the
Momentum Phonostage for use with the Relentless Preamplifier.
6
2
3
4
5
6
7
8
5. Mute button
6. Selector arrows
7. Touch panel volume control
8. Display
Connect the cables of the Relentless Preamplifier's Zone 1 outputs to your amplifier(s). Use the top
chassis for left channel outputs and bottom chassis for right channel outputs.
Note: Each Relentless Preamplifier audio chassis includes two Zone 1 outputs. These are identical and
can be used interchangeably. The most common use for the second set of Zone 1 outputs is for use
with subwoofers.
Additionally, each Relentless Preamplifier audio chassis includes a Zone 2 output. Please see the
Zone 2 operation section of this Owner's Manual.
AC cord
The Relentless Preamplifier is supplied with a high-quality AC cord tipped with a 15-amp IEC
connector at the preamplifier end and a three-conductor AC plug at the other end. You may use a
different power cord with the Relentless Preamplifier if you wish, as long as it is tipped with a 15-amp
IEC connector and a three-conductor AC plug.
After the speaker, interconnect cables, and power supply connector cable are connected, push the
IEC connector on the power cord into the IEC jack on the Relentless Preamplifier.
If plugging the Relentless Preamplifier into a power strip or power conditioner, make sure it is a high-
quality unit that does not alter ground connections or insert current limiting elements in series with the
AC mains signal.
Remote Control operation
The Relentless Preamplifier remote control uses Bluetooth® 1.6 technology rather than typical IR
operation. Bluetooth® 5.0 offers operational feedback and great improvement in usable range and
does not require line of sight for proper operation. Please attach the included Bluetooth® antenna to
the threaded antenna input on the rear panel.
12-volt trigger outputs
These 3.5mm jacks output a 12-volt DC control signal when the preamplifier is on. You can connect
them to any devices that accept a 12-volt DC control input, such as an amplifier.
RS-232 input
This DB9-type input allows the Relentless Preamplifier to be controlled by home automation systems
that use RS-232 protocol. Consult your D'Agostino Master Audio Systems dealer for more information.
7
