cashco D Посібник з монтажу, експлуатації та технічного обслуговування - Сторінка 3
Переглянути онлайн або завантажити pdf Посібник з монтажу, експлуатації та технічного обслуговування для Контролер cashco D. cashco D 9 сторінок. Pressure reducing regulators
Також для cashco D: Посібник з монтажу, експлуатації та технічного обслуговування (10 сторінок)
V. SHUTDOWN
1.
On systems with a bypass valve, and where sys tem
pressure is to be maintained as the reg u la tor is
shut down, slowly open the bypass valve while
reducing the loading pressure (Opt.-20) and slowly
closing the inlet (up stream) block valve. When all
loading pressure is relieved, fully close the inlet
(upstream) block valve.
system pressure must be constantly observed and
manually reg u lat ed.) Close the outlet (down stream)
block valve.
VI. MAINTENANCE
A. General:
SYSTEM UNDER PRESSURE. Prior to per form ing
any maintenance, isolate the regulator from the
system and relieve all pres sure. Failure to do so
could result in personal injury.
1.
Maintenance procedures hereinafter are based
upon re mov al of the regulator unit from the
pipeline where in stalled.
2.
Owner should refer to owner's procedures for
re mov al, handling, cleaning and disposal of
nonreusable parts, i.e. gaskets, etc.
3.
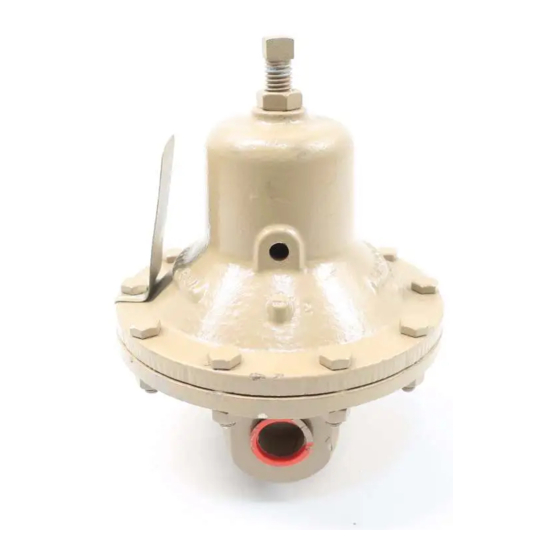
Refer to Figure 2 for basic regulator. Refer to
Figure 4 for cryogenic regu la tor. For blow-ups
of Option-4 Stabilizer, refer to Figure 3.
B. Diaphragm Replacement:
SPRING UNDER COMPRESSION. Prior to removing
flange bolts, relieve spring com pres sion by backing
out the ad just ing screw. Failure to do so may result
in flying parts that could cause personal injury.
1.
Securely install the body (1) in a vise with
the spring chamber (2) loading chamber (33)
directed upwards.
2.
Relax range spring (14) by turning adjusting
screw (6) CCW until removed from spring
cham ber (2).
hand wheel is utilized, the adjusting screw (6)
and locknut (7) are re placed respectively by
hand wheel adjusting screw (20) and locking
lever (21). Refer to Figure 1.
IOM-D/DL
(When on bypass, the
WARNING
WARNING
NOTE:
If the D-3 Option
SECTION V
Do not walk away and leave a bypassed reg u la tor
unattended!
2.
If the regulator and system are to both be shut down,
remove all loading pressure while slowly closing
the inlet (upstream) block valve. Close the outlet
(downstream) valve only if reg u la tor removal is
required.
SECTION VI
3.
Draw or embed a match mark between body
casting (1) and spring chamber casting (2)
loading chamber (33) along flanged area.
4.
Remove all diaphragm nuts (9) and bolts (8).
5.
Remove spring chamber (2), (loading chamber
33),range spring (14), spring button (4),
pressure plate (3) and diaphragm(s) (12).
NOTE: Refer to the quan tity of diaphragms
(12) in cor po rat ed per the bill of materials listing.
Depending on outlet pres sure level, multiple
metal diaph ragms may be "stacked".
6.
Remove pusher plate (11) and inspect for a
fit which limits its travel to a vertical direction.
Wear will show as ex ces sive wobble in push er
plate (11). If apparent, recommend trim removal
and inspection; go to Sub-Sec tion C fol low ing.
Re in stall pusher plate (11).
7.
Inspect pressure plate (3) to ensure no
de for ma tion due to over-pressurization.
de formed, replace.
8.
Clean body (1) and diaphragm flange. NOTE:
On regulators originally supplied as "ox y gen
clean", Option D-5, D-36, D-55, or DL-55, main-
tenance must include a level of clean li ness
equal to Cashco cleaning standard #S-1134.
On reg u la tors originally supplied as "cleaned for
Phar ma ceu ti cal and Food ap pli ca tions" Op tion
D-37 or D-37S, main te nance must in clude a
level of cleanliness equal to Cashco cleaning
stan dard #S-1576.
9.
Place diaphragm gasket (13) on body (1) flange.
Position diaphragm(s) (12) into place. Vi su al ly
center pres sure plate (3) onto diaphragm(s)
(12), and set range spring (14) onto retainer hub
of pressure plate (3). (Opt.-20 does not utilize
spring skip to step 11.) NOTE: No dia phragm
gasket (13) for com po si tion dia phragm.
CAUTION
If
3