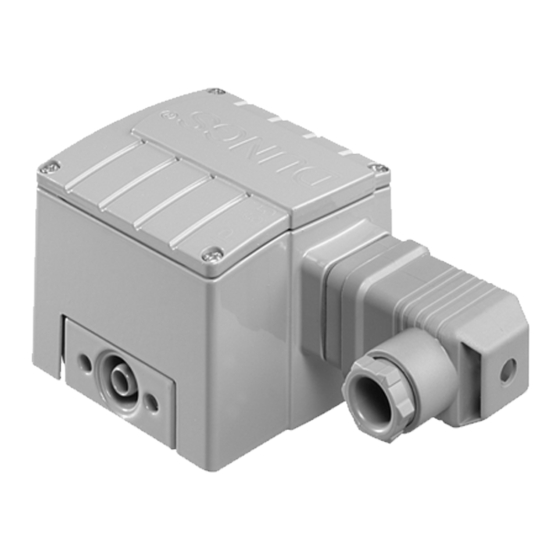
Dungs GW A4/2 HP X Series Інструкція з експлуатації - Сторінка 8
Переглянути онлайн або завантажити pdf Інструкція з експлуатації для Перемикач Dungs GW A4/2 HP X Series. Dungs GW A4/2 HP X Series 12 сторінок. High pressure gas and air pressure switch
Також для Dungs GW A4/2 HP X Series: Інструкція з експлуатації та монтажу (8 сторінок)

Einstellung des Druckwächters
Haube mit geeignetem Werkzeug
demontieren, Schraubendreher
No. 3 bzw. PZ 2, Bild 1. Haube
abnehmen.
Berührschutz ist nicht
grundsätzlich gewährt,
Kontakt mit spannungsführen-
den Teilen möglich.
Druckwächter am Einstellrad mit
Skala ▌ auf vorgeschriebenen
Drucksollwert einstellen, Bild 2.
Anleitung des Brennerherstel-
lers beachten!
Druckwächter schaltet bei stei-
gendem Druck: Einstellung Ç.
Druckwächter schaltet bei fal-
lendem Druck: Einstellung È.
Haube wieder aufsetzen!
Setting the pressure switch
Dismount the hood using a suitable
tool, e.g. screwdriver no. 3 or PZ2,
Fig. 1. Remove hood.
There is no protection
against accidental contact.
Contact with live parts is pos-
sible.
Set the pressure switch at the setting
wheel ▌ to the specified pressure
setpoint using the scale, Fig. 2.
Follow the instructions of the
burner manufacturer!
Pressure switch switches as pressure
increases: Setting Ç.
Pressure switch switches as pressure
reduces: Setting È.
Remount hood!
Ersatzteile / Zubehör
Spare parts / Accessories
Pièces de rechange / access.
Parti di ricambio / Accessori
Set: Gerätestecker G3,
3-pol + E für GW...A4
Kit: G3 equipment plug,
3-pin + E for GW...A4
Kit: Connecteur d'appareil G3,
3 pôles + E pour GW...A4
Set composto da: Spina G3
a 3 poli + terra
Leitungsdosen 3-pol + E,
grau GDMW für GW...A4, A4/2
Line sockets, 3-pin + E
grey GDMW for GW...A4, A4/2
Prises 3 pôles + T,
gris GDMW pour GW...A4, A4/2
Presa a 3 poli + terra,
grigia GDMW a GW...A4, A4/2
Réglage des pressostats
Enlever les vis du capot en utilisant
un tournevis N
3. ou PZ 2, Fig 1.
o
Enlever le capot.
La protection n'est pas
garantie, contact avec des
pièces sous tension possible.
Régler le pressostat avec son bou-
ton gradué ▌ à la valeur désirée,
Fig. 2.
Respecter les recommandations
du constructeur du brûleur!
Le pressostat commute par pression
montante: Réglage Ç.
Le pressostat commute par pression
descendante: Réglage È .
Remonter le capot!
Regolazione del pressostato
Smontare la calotta con un attrezzo
adeguato, ossia cacciavite nr. 3 , PZ
2, figura 1 Togliere la calotta.
Non é sostanzialmente
garantita la protezione da
scariche, é possibile il contatto
con conduttori di tensione.
Tarare il pressostato, come in figura
2, sul valore di pressione nominale
prescritto, agendo sulla rotella della
scala graduata ▌.
Prestare attenzione alle prescrizioni
del produttore del bruciatore!
Il pressostato scatta con pressione
in salita: Regolazione Ç. Il pres-
sostato scatta con pressione in
discesa: Regolazione È. Rimontare
la calotta!
Bestell-Nummer
Ordering No.
No. de commande
Codice articolo
219 659
210 318
1
2
GW...A4 HP
GW...A4 HP
Ersatzteile / Zubehör
Spare parts / Accessories
Pièces de rechange / access.
Parti di ricambio / Accessori
Montage-Set Glimmlampen
Neon glow lamp assembly set
Lampes fluorescentes, kit de
montage
Set die montaggio lampadina a
bagliore
grün/green/verte/verde
Montage-Set Glimmlampen
Neon glow lamp assembly set
Lampes fluorescentes, kit de
montage
Set die montaggio lampadina a
bagliore
gelb/yellow/jaune/giallo
Bestell-Nummer
Ordering No.
No. de commande
Codice articolo
230 V
24 V
248 239
248 240
230 V
120 V
24 V
231 773
231 772
231 774
8 ... 12
