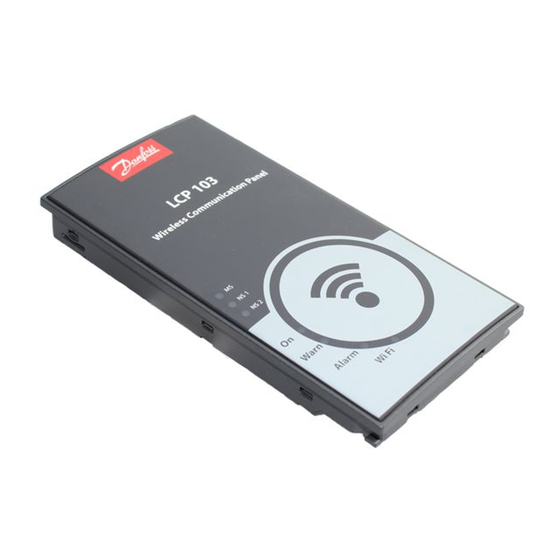
Danfoss VLT HVAC Drive FC 102 Посібник з монтажу - Сторінка 4
Переглянути онлайн або завантажити pdf Посібник з монтажу для Блок управління Danfoss VLT HVAC Drive FC 102. Danfoss VLT HVAC Drive FC 102 6 сторінок. Adjustable frequency drive - safe torque off
Також для Danfoss VLT HVAC Drive FC 102: Посібник з експлуатації (16 сторінок), Посібник з монтажу (20 сторінок), Інструкція з монтажу Посібник з монтажу (6 сторінок), Інструкція з монтажу Посібник з монтажу (12 сторінок), Посібник з монтажу (18 сторінок), Інструкція з монтажу Посібник з монтажу (11 сторінок), Інструкція з монтажу Посібник з монтажу (8 сторінок), Інструкція з монтажу Посібник з монтажу (10 сторінок), Інструкція з експлуатації Посібник з експлуатації (16 сторінок), Інструкція з монтажу Посібник з монтажу (6 сторінок), Посібник з монтажу (16 сторінок), Посібник з монтажу (8 сторінок), Інструкція з експлуатації (16 сторінок), Інструкція з монтажу Посібник з монтажу (6 сторінок), Посібник з монтажу (6 сторінок)

