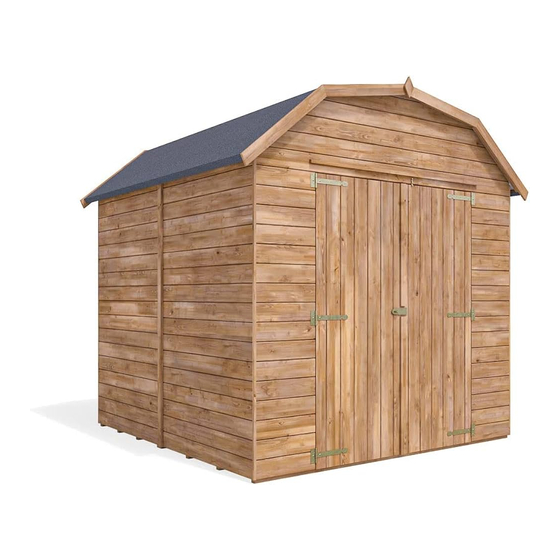
Dunster House DUTCH BARN I Посібник з монтажу - Сторінка 14
Переглянути онлайн або завантажити pdf Посібник з монтажу для Садові будиночки Dunster House DUTCH BARN I. Dunster House DUTCH BARN I 16 сторінок.

STEP 10: WIND BRACE
Items:
8x
ST-PT3535680 (FRONT & REAR)
2x
ST-PT35352370 (SIDE)
24x 35mm Screw
Principle of wind braces installation
Front view
Side view
ST-PT35352370
STEP 11: FELT
Items:
2x
Felt
360x 10mm Clout Nail
Principle of felt installation
Assembly Steps
Pre-drill parts before fixing with screws
10a) Position the wind braces as shown in the diagram below. Make sure that
they are flush with edge of the roof board.
10b) Fix each wind brace by using 35mm screws. Use 2 screws for each front
and rear wind brace. Use 4 screws per each wind brace for the side. Refer to
the image below for more information.
35mm Screws
ST-PT3535680
Pre-drill parts before fixing with screws
11a) Measure and cut a length of roof felt so that you have
30mm of overhang on the front, rear and edge of the
roof boards as shown in Fig.1 and Fig.4. Fix the felt into
position using the clout nails provided and approximately
200mm centres. Repeat this process on the opposite
side of your shed.
11b) Once you have fixed 2 lengths of felt onto the roof,
position the 3rd and 4th length of felt as shown in Fig.2.
Fix the felt to the roof using the clout nails provided,
again using 200mm centres between each clout nail.
Position of wind braces
ST-PT3535680
35mm
Screws
Front
Felt
Attaching of overlap
(Front view)
10mm COUT NAIL
(Distance between
nails approx. 70mm)
ST-PT35352370
continued overleaf
Page 14
