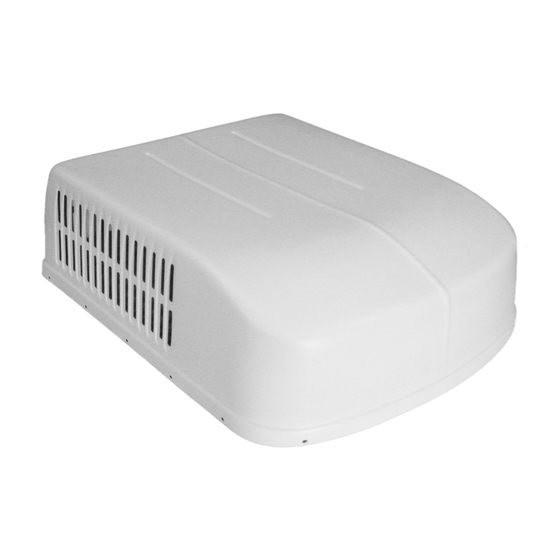
Duo-Therm 57908.521 Інструкція з монтажу Посібник з монтажу - Сторінка 9
Переглянути онлайн або завантажити pdf Інструкція з монтажу Посібник з монтажу для Кондиціонер Duo-Therm 57908.521. Duo-Therm 57908.521 17 сторінок. Roof top air conditioner/heat pump
Також для Duo-Therm 57908.521: Посібник з монтажу та експлуатації (17 сторінок)

A. LOCATION
The proper location of the thermostat is very important to ensure that it will provide a comfortable RV temperature. Observe
the following general rules when selecting a location.
1.
Locate the thermostat 54" above the floor.
2.
Install thermostat on a partition, NEVER on an outside wall.
3.
NEVER expose it to direct heat from lamps, sun or other heat producing items.
4.
Avoid locations close to doors that lead outside, windows or adjoining outside walls or directly under cabinets or overhangs
which limit air movement.
5.
Avoid locations close to supply registers and the air from them.
6.
NEVER locate thermostat in a room that is warmer or cooler than the rest of the coach - such as the kitchen.
7.
The major living area is normally a good location.
B. CABLE INSTALLATION
1.
A seven-conductor cable, 18 to 22 AWG is to be used for low voltage connections.
2.
Choose the shortest, direct route from the 14-1/4" x 14-1/4" (±1/8") opening to the thermostat location selected.
3.
Consider where screws, nails or staples might contact the cable.
4.
Leave approximately 6" of cable extending through the wall for connection to the thermostat.
5.
Leave approximately 15" of cable extending into the 14-1/4" x 14-1/4" (±1/8") opening for connection at unit.
6.
If system is to control a gas furnace: Route two 18 gauge wires from the furnace to 14-1/4" x 14-1/4" (±1/8") opening at
this time. See Section 4. Air Distribution System Installation; A Roof and Ceiling Opening Preparation.
7. PLACING THE AIR CONDITIONER/HEAT PUMP ON THE ROOF
A. Remove the air conditioner/heat pump from the carton and discard carton. The unit mounting bolts are in separate plastic bag
with the control kit. Be sure to place this in the RV.
B. Place the air conditioner/heat pump on the roof.
FIG. 5
Please Recycle
All Cardboard
C. Lift and place the unit over the prepared opening usingthe gasket on unit as a guide. The gasket end goes toward the front
of the RV. Sliding the unit on the roof will damage the roof gasket. See FIG. 6.
FIG. 6
D.
Place 3107541 or 3107546 Relay Kit and 3105007.XXX, 3105935.XXX or 3308120.XXX Return Air Cover Kit, inside the RV.
These cartons contain mounting hardware for the air conditioner/heat pump and will be used inside the RV. This completes
the outside work. Minor adjustments can be done from the inside of the RV if required.
6. THERMOSTAT & CABLE INSTALLATION
Front
ANALOG DUCTED INSTALLATION INSTRUCTIONS
This unit weighs approximately 100 pounds.
To prevent back injury, use a mechanical
hoist to place air Conditioner/heat pump on
roof.
Do not slide the unit. This may damage the
neoprene gasket attached to the bottom and
create a leaky installation.
9
CAUTION
!
CAUTION
