audiophony MT12A-UHF Посібник користувача - Сторінка 7
Переглянути онлайн або завантажити pdf Посібник користувача для Акустична система audiophony MT12A-UHF. audiophony MT12A-UHF 10 сторінок. Goa 12 inches amplified speaker with 2 uhf microphones

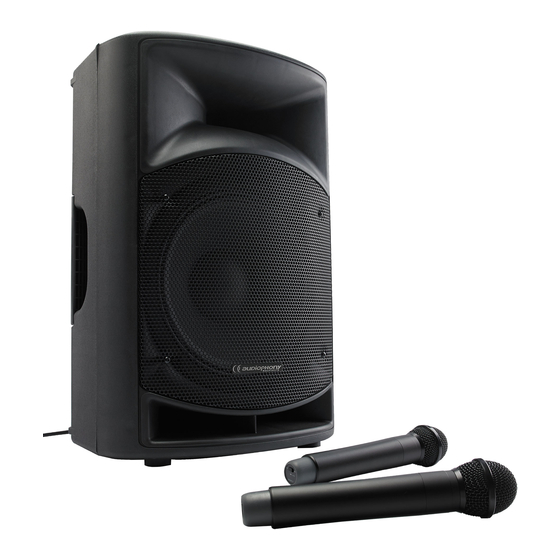
MT12A-UHF - 12 inches amplified speaker with 2 UHF microphones
C- UHF receiver module
5
6
RF
AF
DOWN
UP
MUTE LEVEL
4
3
2
7
D - Handheld microphone
1
GAIN
2
3
H
L
4
BATT
ON
OFF
Note about UHF microphones:
Please use one of the available frequencies (from 1 - 16) on both receivers. Caution: the microphones
need to have different frequencies to be used simultaneously.
C1 - Volume control fader for the HF module. From OFF to full
power (clockwise).
8
9
C2 - Squelch control fader: allows you to configure the
threshold in case of HF signal interruption. The factory settings
do not require any modification.
C3&4 - Canal selection: allow you to browse through the 16
available frequencies.
IR
C5 - Frequency display.
8
C6 - Radio Frequency indicator: this indicator is lit in red when
the emitting mic is ON.
4
12
C7 - Audio Frequency indicator: this indicator is lit in green
OFF
15
when a signal is being received.
POWER-VOL
C8 - ASC (Auto Synchro Connection) button: allows you to
synchronise a channel between the transmitter and receiver.
1
Select a channel (from 1 - 16), press the ASC button and put
the IR (#6) diod of your mic in front of the IR (#9) diod of your
receiver.
C9 - IR diod. Allows you to synchronise your mic with the
receiver.
6
5
1 - Grille: Protects the capsule.
2 - Gain control: Allows you to configure the
microphone sensitivity. The factory settings
are optimal, but you can increase/decrease the
sensitivity by turning it to the left (decreases) or
right (increases).
3 - Radio frequency output level selector. H for
a strong signal, L for a lower signal. Allows you
to increase the range of your microphone.
4 - Battery level indicator and ON/OFF power
switch.
The indicator flashes in red when the batteries
IR
are discharged.
The indicator flashes in red when the ASC
function is activated.
5 - Batteries compartment: LR06 x 2. Please
make sure you keep the same polarities if need
to replace the batteries.
6 - Synchronisation IR diod. The ASC (Auto
Synchro Connection) function allows you to
synchronise a chosen channel between the
transmitting microphone and the receiver via
InfraRed transmission.
To do so, select a channel (from 1-16) on the
receiver. Press the ASC button and put the IR
diod of your microphone in front of the IR diod
(#9) of the receiver.
English
Page 7
