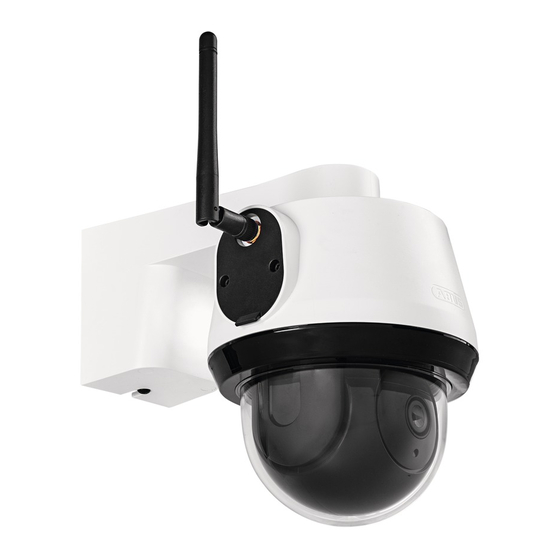
Abus PPIC42520 Короткий посібник - Сторінка 7
Переглянути онлайн або завантажити pdf Короткий посібник для Цифрова камера Abus PPIC42520. Abus PPIC42520 16 сторінок. Wi-fi pan tilt outdoor camera

K A M E R A M O N T A G E
C A M E R A I N S T A L L A T I O N
Option 1: Leitungsverlegung Unterputz
Option 1: Flush mounted cable routing
1
2
3
4
• Trennen Sie die Wandplatte der Halterung von der Kamera mit dem
beiliegenden Innensechskantschlüssel.
• Markieren Sie am gewünschten Einsatzort mithilfe der Bohrschablone
oder der Wandplatte und z. B. einem Stift die Position der benötigten
4 Bohrlöcher.
• Bohren Sie die Löcher und legen Sie die beiliegenden Dübel ein.
• Befestigen Sie Halterung mit den beiliegenden Schrauben
•
Separate the wall plate of the bracket from the camera using the
enclosed Allen key.
•
Mark the required position at the desired location using the drilling
template or the wall plate and, for example, a pencil to mark the
position of the required 4 drill holes.
•
Drill the holes and insert the enclosed dowels.
•
Fasten the holder with the enclosed screws.
• Die Wandplatte verfügt am unteren Rand über eine Parkposition.
Setzen Sie die Kamera in die Parkposition, sodass sie die Verkabelung
einfacher vornehmen können.
•
The wall plate has a parking position at the bottom edge. Place the
camera in the parking position so that it is easier for you to do the
cabling.
• Verbinden Sie das Stromkabel und LAN-Kabel (bei WLAN-Nutzung
optional) mit den Anschlüssen der Kamera.
• Führen sie die Kabel in die Wand. Die Anschlüsse können optional
auch in der Halterung verstaut werden.
•
Connect the power cable and LAN cable (optional for WLAN usage)
to the connectors of the camera.
•
Guide the cables into the wall. The connections can also be optionally
placed in the bracket.
• Setzen Sie Kamera samt Halterung komplett auf die Wandplatte und
verschrauben Sie die Elemente an der Unterseite der Halterung mit
dem Innensechskantschlüssel. Die Kabel verlaufen bei dieser Instal-
lation komplett innerhalb der Halterung und sind nun nicht mehr zu
sehen.
•
Place the camera and the bracket completely on the wall plate and
screw the elements together on the underside of the bracket using the
Allen key. With this installation, the cables run completely inside the
bracket and are no longer visible.
7
