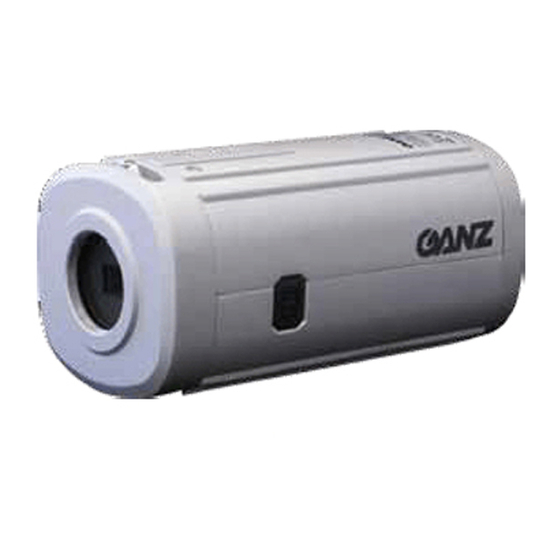
CBC Ganz ZC-NH406P Інструкція з експлуатації - Сторінка 2
Переглянути онлайн або завантажити pdf Інструкція з експлуатації для Камера спостереження CBC Ganz ZC-NH406P. CBC Ganz ZC-NH406P 2 сторінки. Color ccd camera

CONNECTION AND ADJUSTMENT
Important Note:
Qualified service personnel or system installers should perform the installation.
Make sure that the power is OFF before handling the power supply cable.
Power Supply Cable Connection
→ refer to PARTS DESCRIPTON (14)
Connect the power cable to the power input connector or terminal on the rear panel.
The camera automatically detects the power source (DC12V/AC24V).
Make sure the proper polarity for DC source.
Use RED terminal for +12VDC and BLACK for ground connection.
Improper polarity may cause damage to camera.
The Power LED on the rear panel is lit when the camera is connected to a power
source (refer to Parts Description 13).
Video Cable Connection
→ refer to PARTS DESCRIPTON (9)
Connect the 75Ω coaxial cable to video output terminal.
Auto Iris Lens Connections
→ refer to PARTS DESCRIPTON (4) & (7)
This camera supports manual iris lens, video auto iris lens,
and DC auto iris lens.
1. Video Auto Iris Lens Pin assignment
GND: Shield, ground.
+12V: Power source; +12VDC, 50 mA Max.
Video: Video signal output.
2. DC Auto Iris Lens
The 4 pin connection terminal is on the
rear panel. Refer to the pin assignment
to ensure the proper operation.
LAMP Contact Terminal
This camera is equipped with an external contact terminal
in order to prevent a mechanical Optical Low pass
Filter hunting in infrared illumination.
Connecting it to GND immediately switches the mode
from daytime to nighttime.
Caution
When using an IR lamp, be sure to use an infrared compatible lens
(Day & Night lens) to ensure proper focusing in IR illuminated settings.
Lens Mounting
→ refer to PARTS DESCRIPTON (1)
1. Mount a lens onto the camera lens mount. Turn the lens clockwise.
2. This camera can accept CS-mount lens, or C-mount lens with a 5 mm adaptor ring.
Cautions for lens mounting:
1. In case of using a lens heaver than the camera, the lens and camera will require
additional support.
2. Do not over-tighten the lens onto the camera mount.
3. Do not rotate the lens counter-clockwise.
Focus Adjustment
→ refer to PARTS DESCRIPTON (2) & (3)
1. Loosen the back focus adjustment lever located
on the front head.
2. Adjust the screw to a desired position, and then
fix the screws.
Caution for focus adjustment:
1. Do not over-tighten the back focus screw.
2. Do not attempt to use any tools other than fingers to tighten the screw.
Improper focus adjustment may result in severe damages to the back-focus
echanism or to the CCD image sensor.
POTENTIOMETER SETTING
→ Refer to PARTS DESCRIPTION (10), (11) & (12)
•LEVEL (Auto Lens Control Level Adjustment)
This potentiometer controls DC lenses:
it manages CCD sensor light quantity by adjusting
lens IRIS aperture.
•ALC (Auto Lens Control Adjustment)
This potentiometer controls auto iris drive, which is supplied to DC drive lens.
Make sure that the connection is correct before adjustment.
•V-Phase (Line Lock Phase Adjustment)
When the camera is set to Line-Lock mode (LL), it is possible to adjust camera
triggering point on the AC cycle in case of systems using sequential switchers
devoid of image digital process feature or video matrixes.
See also 'DIP SWITCH SETTING' (LL/INT) paragraph above.
DIP SWITCHES SETTING
→ Refer to PARTS DESCRIPTION (6)
The row of DIP switches allow the following settings
to be made:
•LL / INT
•TDN / ON
•BLC / ON
•AGC / TURBO
•AWB / AWB-EX
•TDN / HIGH
Shutter Speed Setting (MES)
→
You can select the manual shutter speed of
1/50, 1/120 FLK or 1/120 FLK, 1/250, 1/500, 1/1K, 1/2K,
1/4K, 1/10K, 1/100K seconds, or
Auto Electronic Shutter (AES).
Turn the switch to the to the Shutter parameter (1~9) and
select a desirable electronic shutter speed.
Set to "0" is for AES.
50/60
AES 100K
AWB-EX
HI
ALC
The line-lock mode enables the AC line
phase adjustment.
Note:
The line-lock sync mode is not available when the camera operates on DC power.
This feature enables the camera operates in monochrome mode in
reduced lighting.
Switch to ON to activate.
The Backlight Compensation feature eliminates the effect of strong background
lighting, maintaining the correct exposure. Switch to ON to activate.
When switched to BLC, the feature is off.
The Automatic Gain Control feature can improve picture quality in
low lighting conditions.
Select TURBO for most applications.
Setting to AGC will reduce 'noise' from the image, but it will also limit the
camera's sensitivity.
AWB: The camera operates in the normal Auto White Balance range
2700°K ~ 9700°K
AWB-EX: The camera operates in the extended Auto White Balance range
2000°K ~ 18000°K.
The TDN mode can be activated only when TDN switch is set to "ON".
When set "HI", the camera will switch to Night (Monochrome) mode
at a lower light level.
refer to PART DESCRIPTION (8)
L.L
INT
TDN
ON
BLC
ON
AGC
TURBO
AWB
AWB-EX
TDN
HI
Shutter Speed
Shutter Speed
500
1K
2K
250
4K
F.L.
10K
50/60
AES 100K
