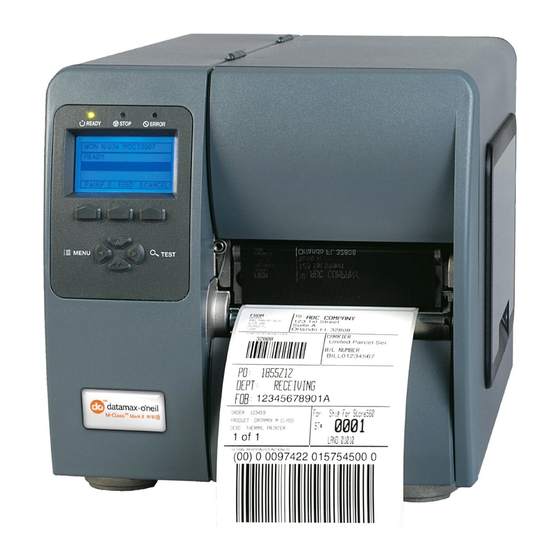
Datamax M-Class Mark II Посібник із швидкого старту - Сторінка 3
Переглянути онлайн або завантажити pdf Посібник із швидкого старту для Принтер Datamax M-Class Mark II. Datamax M-Class Mark II 4 сторінки. Rfid option
Також для Datamax M-Class Mark II: Посібник (6 сторінок), Посібник (8 сторінок), Посібник (10 сторінок), Посібник із швидкого старту (8 сторінок), Посібник із швидкого старту (6 сторінок), Посібник із швидкого старту (8 сторінок)

Contents of the Present Sensor Kit
This kit contains the following item:
Present Sensor Option
Follow the steps listed below to install this option.
Step 1: Preparing the Printer
Turn 'Off' the power switch and unplug the
printer.
Open the cover. Remove any installed media
from the printer.
Remove the Fascia by gently pulling it forward.
Loosen and remove the Thumbscrew, then
remove the Tear Plate.
Step 2: Installing the Present Sensor
Position the Present Sensor for mounting on the
front of the printer.
Using the Thumbscrew, secure the Present
Sensor to the printer, as shown.
This completes the installation process.
Proceed to Loading Media.
Fascia
Present Sensor
Thumbscrew
1
Thumbscrew
Tear Plate
