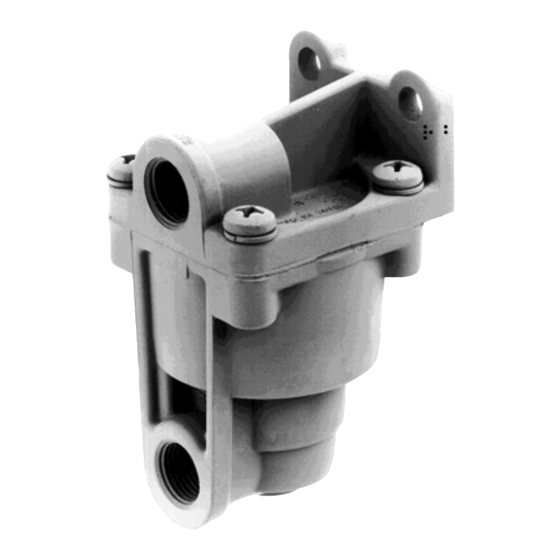
BENDIX LQ-4 Посібник - Сторінка 4
Переглянути онлайн або завантажити pdf Посібник для Блок управління BENDIX LQ-4. BENDIX LQ-4 8 сторінок. Front axle ratio valve

INNER
PISTON
SPRING
(9)
INLET
EXHAUST
VALVES
(10)
™
FIGURE 7 - LQ-4
FRONT AXLE RATIO VALVE
PREVENTIVE MAINTENANCE
Important: Review the Bendix Warranty Policy before per-
forming any intrusive maintenance procedures. A warranty
may be voided if intrusive maintenance is performed during
the warranty period.
No two vehicles operate under identical conditions, as a
result, maintenance intervals may vary. Experience is a valu-
able guide in determining the best maintenance interval for
air brake system components. At a minimum, the valve
should be inspected every 6 months or 1500 operating hours,
whichever comes first, for proper operation. Should the valve
not meet the elements of the operational tests noted in this
document, further investigation and service of the valve may
be required.
SERVICE CHECKS
OPERATIONAL CHECKS
1. Install a test gauge or gauge of known accuracy in the
supply and delivery lines of the LQ valve.
2. Build system air pressure to governor cut-out, turn off
engine and apply parking brakes.
3. While making a slowly increasing service brake applica-
tion, note that the pressure registered on the gauge
installed in the delivery line from the LQ valve is approxi-
mately half the pressure registered on the gauge in the
4
COVER
(1)
O-RING (6)
OUTER
PISTON (4)
O-RING (7)
OUTER
PISTON
SPRING (5)
O-RING (8)
INNER PISTON (3)
BODY (2)
HOLD OFF
SPRING
(11)
supply line. The 50% reduction will occur while supply
line pressure is between 0 and 40 psi.
4. When the supply line pressure exceeds 40 psi, but is
below 60 psi, observe that the delivery line pressure is
no longer one half and that the delivery line pressure is
"catching up" to supply pressure.
5. When supply pressure exceeds 60 psi note that the
delivery line pressure is approximately equal.
Note: The pressures stated here are examples only.
Various piece numbers of the LQ valves may have
different pressure settings. For information on a specific
installation, consult the vehicle handbook.
LEAKAGE CHECKS
Make and hold a service brake application. Apply a soap
solution to the exhaust port and around the seam between
the cover and the body. Leakage equivalent to a 1" bubble in
5 seconds is permissible.
If the LQ valve does not function as described above or leak-
age is excessive, it is recommended that it be returned to
the nearest Bendix authorized outlet for a factory remanu-
factured valve under the Exchange Plan. If this is not possible,
the valve can be repaired with genuine Bendix parts, in which
case the following should prove helpful.
Note: Maintenance kits for the LQ-3
ratio valves are available from any authorized Bendix outlet.
REMOVAL
Apply the vehicle parking brakes. Identify and disconnect
the supply and delivery lines of the LQ valve. Remove the
two mounting bolts securing the LQ valve to the vehicle.
DISASSEMBLY
1. Prior to removing the four Phillips head screws and their
lockwashers which secure the cover to the body, mark
the relationship between the cover and the body.
2. Carefully separate the cover (1) (Figure 7) from the body
(2) and remove the inner (3) and outer pistons (4). (The
cover is under approximately 30 pound load from the
outer piston spring.)
3. Remove the outer piston spring (5).
4. Separate the inner and outer pistons.
5. Remove the o-ring (6) from the outer piston.
6. Remove the large (8) and small (7) diameter o-ring from
the inner piston.
7. (LQ-4
™
valve) Remove the inlet exhaust valve spring (9)
and inlet exhaust valve (10) from the inner piston.
Remove the hold-off spring (11) if present
8. (LQ-3
™
valve — Figure 8) Remove the retaining ring (1),
washer (2), inlet exhaust valve spring (3), and inlet
exhaust valve (4).
™
™
and LQ-4
front axle
