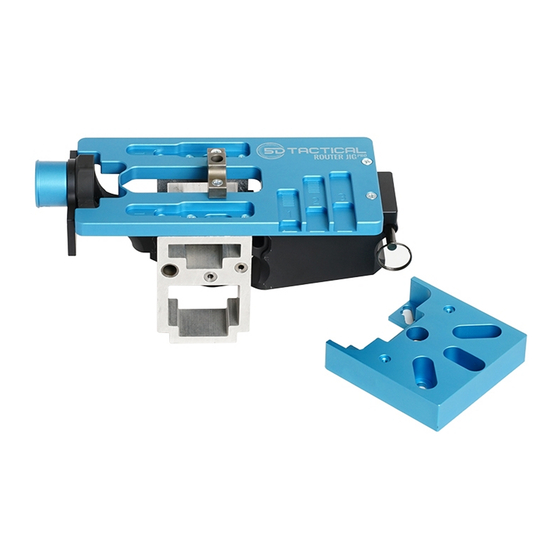
5D TACTICAL Router JigPro Інструкція з експлуатації - Сторінка 10
Переглянути онлайн або завантажити pdf Інструкція з експлуатації для Інструменти 5D TACTICAL Router JigPro. 5D TACTICAL Router JigPro 13 сторінок.
Також для 5D TACTICAL Router JigPro: Інструкція з експлуатації (7 сторінок)

NOTE: If your drill bits are not long enough
to penetrate both walls, flip jig over and
repeat process. Receivers with spray-on
coatings such as Cerakote and Duracoat
should be drilled from both sides for maximum
finish quality.
PART 7: DISASSEMBLY
7-1
Remove Buffer Adapter. Loosen or
completely remove Buffer Plate.
Remove Takedown Pin. The Finished receiver
can now be removed from the jig.
FINAL PRODUCT
10
APPENDIX A –
ROUTER ADAPTER INSTALLATION
NOTE: Your ReadyMILL™ is custom
designed to fit tightly inside the Router
Adapter Bearing. Prior to first use, the tool
holder portion of the ReadyMILL™ may
require light oiling and/or cleaning with a
mildly abrasive scouring pad to ensure a
reliable slip-fit. DO NOT SAND OR GRIND
YOUR ReadyMILL™. Do not force the
ReadyMILL™ into the bearing, or it may
become stuck.
The end mill cutting teeth are extremely
sharp, use the protective end mill cap
whenever handling the ReadyMILL™.
Remember to remove the end mill cap
prior to use. Use caution when removing
the end mill cap and wear gloves. Drilling
and cutting tools can shatter, remember to
always wear eye protection while operating
power tools.
Reference the chart on the next page for
specific instructions on how to install the
Router Adapter to your router model.
508-834-4223
5DTACTICAL.COM
