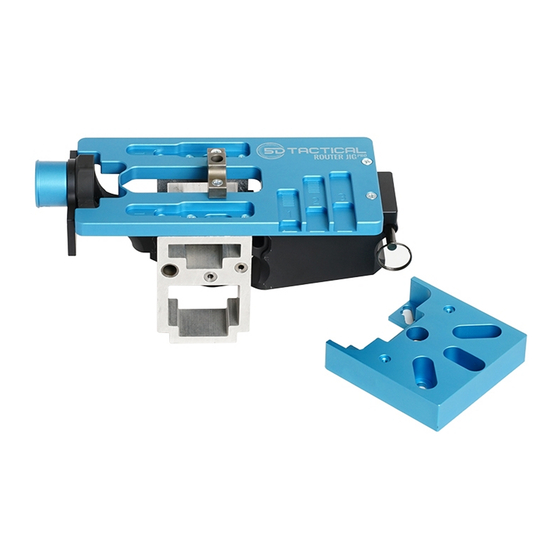
5D TACTICAL Router JigPro Інструкція з експлуатації - Сторінка 6
Переглянути онлайн або завантажити pdf Інструкція з експлуатації для Інструменти 5D TACTICAL Router JigPro. 5D TACTICAL Router JigPro 7 сторінок.
Також для 5D TACTICAL Router JigPro: Інструкція з експлуатації (13 сторінок)

ROUTER ADAPTER INSTALLATION
NOTE: Your ReadyMILL™ is custom designed to fit tightly inside the Router
Adapter Bearing. Prior to first use, the tool holder portion of the ReadyMILL™
may require light oiling and/or cleaning with a mildly abrasive scouring pad
to ensure a reliable slip-fit. Do not force the ReadyMILL™ into the bearing, or
it may become stuck. The end mill cutting teeth are extremely sharp, use the
protective end mill cap whenever handling the ReadyMILL™. Remember to
remove the end mill cap prior to use. Use caution when removing the end mill
cap and wear gloves.
Drilling and cutting tools can shatter, remember to always wear eye protection
while operating power tools. Do not sand or grind your ReadyMILL™.
Reference the chart for specific instructions on how to install the Router Adapter to your router model.
ROUTER
READYMILL
MODEL
MODEL
Bauer 19121 E-N................................... C
Bauer 19121 E-B.................................... C
Bosch PR10E.......................................... A
Bosch PR20EV*....................................... A
Bosch GFK125CEN.............................*N/A
Bosch GFK125CEK..............................*N/A
Bosch 1617 EV/EVS.............................*N/A
Craftsman 28212....................................B
Craftsman 2767......................................D
Craftsman 27683....................................D
Craftsman 50429....................................D
Dewalt DWE6000................................... A
Dewalt DCW600B..................................B
Dewalt DWP611.....................................B
*Installation methods vary. Please refer to the
3 most common instructions shown, if the
installation methods shown do not match with
your router please contact us by phone at
508-834-4223 or email [email protected]*
Updated router list available online
10
ROUTER
READYMILL
MODEL
MODEL
Dewalt DW616....................................*N/A
Dewalt DW618....................................*N/A
80% Arms FST-1.....................................C
Hitachi M12VC.......................................A
Kobalt KR-124B-03..............................*N/A
Makita XTR01Z.......................................C
Makita RT07010C...................................C
Milwaukee M18 Fuel...........................*N/A
Porter Cable 6430/6435......................... A
Porter Cable 450....................................C
Porter Cable 8902.................................. A
Rigid R22002........................................ * N/A
Rigid R24012.......................................... A
Ryobi R1631K......................................*N/A
SKILRT1322-00.......................................D
Updated router list available online
5DTACTICAL.COM
Before proceeding, check that your
A1-1
router depth lock is fully functional. If
necessary, tighten router depth lock. On most
models, a nut or set screw can be tightened
to adjust the tension of the depth lock. If your
router depth moves while milling, damage to
the receiver and/or end mill may occur.
Prepare your router for milling by
A1-2
installing the ReadyMILL™. Unplug
your router. Remove the plastic baseplate
from the router base, and separate the base
from the router. Remove the nut and collet.
Thread on the ReadyMILL™ and tighten using
a wrench then reinstall the router base.
INSTALLATION METHODS
Orient the Router Adapter with the
1.
bearing facing toward the router, and the
notch away from the power cord. Pass the
large diameter portion of the ReadyMILL™
through the bearing to center the Router
Adapter with the Router.
5DTACTICAL.COM
Installation Method 1. With the Adapter
2.
flat against router base, align Router
Adapter with 4 screw holes in router base,
loosely install (4) Router Adapter Screws with
washers, then tighten.
Installation Method 2. Align Router
3.
Adapter with 2 screw holes in front of
router base, and loosely install (2) Screws and
washers. Loosely install Router Adapter Side
Block to accessory attachment hole on back
of router with (1) Router Side Block Screw.
Use the appropriate size for your router.
Loosely install (1) Router Adapter Screw and
washer into the Side Block through the Router
Adapter. Tighten (2) front Router Adapter
Screws. Press Side Block against router and
tighten (1) Router Side Block Screw
11
