Hi-Velocity RBM-70 Посібник з монтажу - Сторінка 5
Переглянути онлайн або завантажити pdf Посібник з монтажу для Блок управління Hi-Velocity RBM-70. Hi-Velocity RBM-70 12 сторінок. Rbm refrigerant base module
Once the RBM coil configuration and placement of the return air ducting has been decided, the return air knockout(s) can be cut.
The pre-measured guide cuts supplied with the RBM coil should always be used to make the first cut. For this first cut, do not use a saw
blade longer than 5" (125mm) or damage to the coil can occur.
TO AVOID DAMAGE: After the first initial cut using the return air knockout(s) a
metal shear must be used to make the return air cutout opening match more closely
to the filter or return air ducting size to maximize flow capacity. Use this cut method
for both coil inlet and outlet.
Step 1: First cuts (using
pre-measured guide cuts)
can be made with a power
tool (no longer than a 5"
blade)
Fig. 12
www.hi-velocity.com
Return Air Cutouts
Step 2: Second cuts (to match
more closely to filter or R/A ducting
size) must be made with a metal
shear to avoid damage to the coil
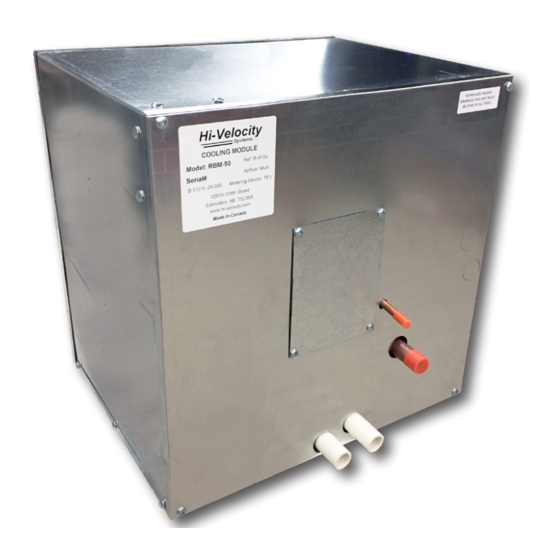
Mounting the cooling coil to the fan coil can be done with the T brackets supplied
(Fig. 12), ensure that no screws puncture the drain pan or coil. Use the provided double
sided tape to air seal the RBM to the fan coil.See specifications page for the dimensions
of the fan coil units and cooling modules.
-5-
-5-
RBM Refrigerant Base Module Installation
Pre-Measured
Guide Cuts
Mounting Brackets
Module RBM
© 1995-2020 Energy Saving Products Ltd.
© 1995-2020 Energy Saving Products Ltd.