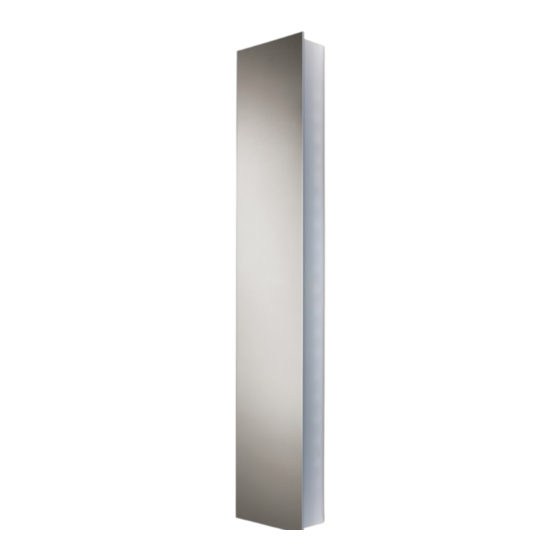
HiB Jupiter 43600 Посібник із швидкого старту - Сторінка 2
Переглянути онлайн або завантажити pdf Посібник із швидкого старту для Внутрішнє оздоблення приміщень HiB Jupiter 43600. HiB Jupiter 43600 2 сторінки. Aluminium cabinets
Також для HiB Jupiter 43600: Посібник (4 сторінок)
fixing preparation
Final Assembly
wall mounting
attaching brackets
door adjustment
1) Position the cabinet in a suitable location and
carefully mark the position of the top of the cabinet
using a soft pencil.
2) Remove the cabinet from the wall and using a
spirit level, mark a horizontal line 50mm below the
original pencil mark. Hold the mounting bracket in
place with the holes corresponding with the marked
line. Ensure the bracket is central, and mark the
position of the holes.
3) Before drilling, ensure there are no hidden cables
or pipes behind the mounting points. Drill the
required holes in the marked positions. If drilling
through tile, use a ceramic drill bit. Insert the wall
plugs level with the surface of the wall. If fitting
to a tiled surface, wall plugs should be inserted
below the tile surface to avoid cracking. NB. For
plasterboard walls, specialist fixings should be
purchased, available from any DIY or hardware
shelf assembly
store. Fix the bracket to the wall using the screws
provided.
6) Hang the cabinet on the wall ensuring that it
is firmly located on the mounting bracket. Align
doors according to the diagram above.
7) Drill a hole in the wall at the marked position
using a 6mm drill bit and insert a rawl plug.
Replace the cabinet and fix to the wall using
the screw, washer and cover supplied.
8) Starting with the top shelf, insert the shelf
supports in the desired position and fit the shelf.