HiB Novum Aeon Інструкція з монтажу - Сторінка 3
Переглянути онлайн або завантажити pdf Інструкція з монтажу для Внутрішнє оздоблення приміщень HiB Novum Aeon. HiB Novum Aeon 4 сторінки.
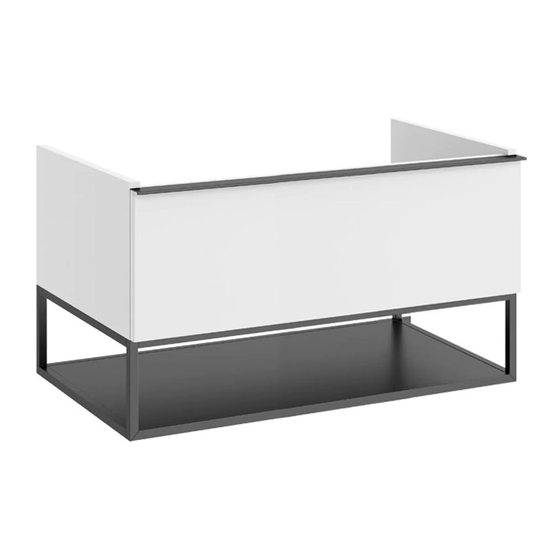
Aeon Vanity Units
1.
Due to the combined weight of the product, an assessment of the wall structure should be made to determine if
it is sufficiently stable to mount the furniture. It is recommended that this furniture is installed to a solid masonry
wall - but where this is not possible, it is recommended that stud walls are sufficiently reinforced.
2.
Aeon vanity units can be installed either standalone or two units can be joined together to create a larger run of
furniture. Follow steps 3 to 5 if you have purchased two Aeon vanity units to join together, otherwise proceed to
step 6 for installation of a single Aeon Vanity Unit.
3.
Carefully unpack and place both vanity units down onto a flat and level surface. It may make installation easier by
removing the drawers at this point - see
4.
Position both units next to each other so that they line up correctly, then secure them together with clamps.
Drill four evenly spaced holes right through the carcass sides to be connected. To prevent any break-out when
drilling, a sacrificial piece of wood can be secured over the exit location of the drill before drilling. Secure
together with the connecting bolts provided
5.
When the two units are joined securely with the connecting bolts, remove the clamps and proceed with the
installation as follows;
6.
Position the unit in a suitable location. Carefully mark the desired position of the unit using a soft pencil.
7.
Using a spirit level, mark a horizontal line below the pencil mark, taking into account the location of the furniture
hangers. Place brackets on the pencil line paying attention to the distance between the furniture hangers.
Carefully mark the position of the holes using a soft pencil.
8.
Before drilling, ensure there are no hidden cables or pipes behind the mounting points. Using a
suitable drill bit, drill holes in the marked positions to a suitable depth.
9.
Insert wall plugs level with the surface of the wall. If fitting to a tiled surface, wall plugs should be inserted
below the tile surface to avoid cracking. NB. For plasterboard walls, specialist heavy duty fixings should be
purchased from any DIY or hardware store.
10.
Fix the brackets to the wall using the screws provided
11.
Hang the furniture unit, ensuring the claws on the hangers are securely located into the wall brackets. Using a
spirit level, make the unit level by adjusting the screws on the hangers
screw until the unit is secure against the wall.
12.
If necessary, the drawer runners can be adjusted in order to realign the drawer front. Ensure the securing screw
on the underside of the drawer runner is removed before adjusting the drawer runner and the screw is re
secured when adjustments have been completed.
13.
With the furniture unit in place, unpack the framework and present it to the underside of the furniture, ensuring
the wall fixing holes are against the wall, not facing forwards.
14.
Carefully mark the wall through the two fixing holes, before removing the framework again.
Before drilling, ensure there are no hidden cables or pipes behind the mounting points. Using a
15.
suitable drill bit, drill holes in the marked positions to a suitable depth.
16.
Insert wall plugs level with the surface of the wall. If fitting to a tiled surface, wall plugs should be inserted
below the tile surface to avoid cracking. NB. For plasterboard walls, specialist heavy duty fixings should be
purchased from any DIY or hardware store.
17.
Fix the framework to the wall.
18.
Use the four screws provided to then secure the framework to the underside of the furniture. An angled driver bit
may help this installation step.
19.
Lastly, mount the basin onto the furniture unit using a fine bead of silicone to seal the washbasin to the unit and
wall edges. If required, for extra security the basin can be secured to the wall using the wall bolts provided with
the basin.
fig. 5.
(Fig.
1).
(Fig. 2 &
(Fig. 2 &
3).
(Fig.
5).
3).
(Fig.
4). Once level, tighten the bottom
3
hib.co.uk