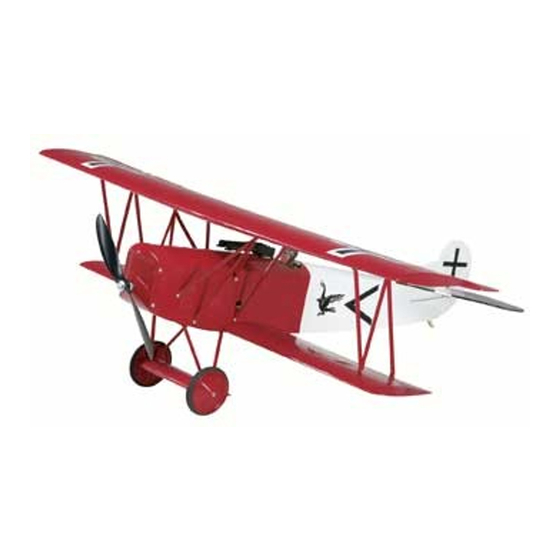
GREAT PLANES Fokker D.VII ARF ElectriFly Інструкція з експлуатації - Сторінка 12
Переглянути онлайн або завантажити pdf Інструкція з експлуатації для Іграшка GREAT PLANES Fokker D.VII ARF ElectriFly. GREAT PLANES Fokker D.VII ARF ElectriFly 20 сторінок.

aileron servo into a 610mm [24"] Y-harness and tie the string
around the other aileron plug. Be sure to secure the left
aileron connection with heat-shrink tubing.
❏
7. Lightly pull the other end of the string until the
"Y" section is near the small opening near the center of the
top wing. Carefully use a bent paper clip or some type of
grasping device to carefully pull out the connector for the
receiver. Leave the right aileron connector tied to the string.
❏
8. Continue pulling the string until the right aileron
connector enters the right aileron bay. Disconnect the string
and plug in the right aileron servo. Secure the connection
with heat-shrink tubing.
❏
9. Secure each aileron servo hatch to the wing with four
2mm x 7mm [5/64" x 9/32"] self-tapping washer head screws.
❏
10. Use a sharp hobby knife to trim the covering from over
the small rectangular hole along the LE of each aileron as
shown. Do not cut all the way through the ailerons.
❏
11. Test fit the control horns and when satisfied with their
fit, CA them in place as shown.
❏
12. Install one 35mm [1-3/8"] aileron pushrod in the outer
hole of the aileron servo arm and another in the outer hole
of the aileron control horn. Slide one of the included pieces
of heat-shrink tubing over the pushrods. With the radio
system on and the aileron servo trim lever centered, shrink
the heat-shrink tubing over the pushrods and apply a couple
of drops of thin CA to the tubing. Note: A hot soldering iron
works great for shrinking the heat-shrink tubing.
❏
13. Make a small hole in the bottom sheeting. Route the
antenna out of the hole and tape it to the bottom of the fuselage.
❏
14. Plug a 152mm [6"] servo extension into the receiver
securing it with heat-shrink tubing, tape or other method to
secure the connection. Route the servo extension through the
hole in the left side of the fuselage. Re-install the bottom wing.
12
