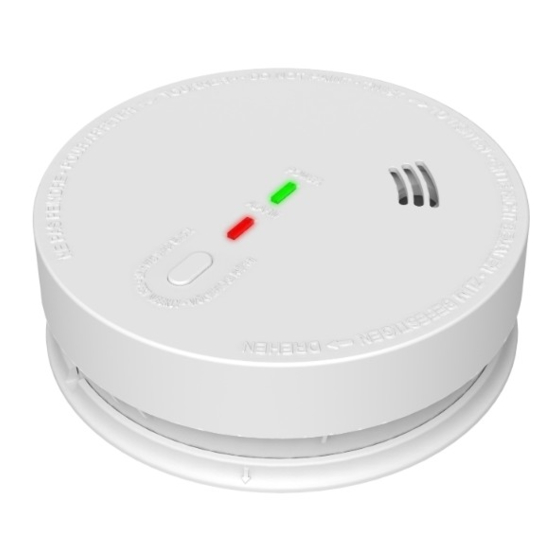
Emerald Planet EP-HW-240-R1 Інструкція з монтажу - Сторінка 2
Переглянути онлайн або завантажити pdf Інструкція з монтажу для Димова сигналізація Emerald Planet EP-HW-240-R1. Emerald Planet EP-HW-240-R1 4 сторінки.
Також для Emerald Planet EP-HW-240-R1: Посібник користувача (6 сторінок)

1. On the first unit, press the wireless test
button(within the pin hole) 3 times within 2 seconds.
The unit is now in "Learning mode " the red LED goes on for 2 minutes
to indicate successful operation.(see Diagram 1).
LED is ILLUMINATED
WHILE BUTTON IS PRESSEDS
2. While the first unit base LED is On, press wireless test button 3 times
within 2 seconds on other unit wireless base of smoke alarm units. The
LED should flash 3 times to indicate successful pairing.
3. Repeat step 2 on all other units.
4. Wait about 2 minutes until the first unit base LED goes out, thenpress
and hold the Test / Hush button for at
least 10 seconds on one smoke alarm to
test the interconnection.Check that all
other wireless interconnected units
respond and sound the alarm. If any unit
fails to respond, pair that unit again by
following steps 1-4.
Base Testing:
1. Pressing the base button for 3
secondstests the wired interconnection
of any connected bases and all wired
interconnected alarms start to alarm.
2. Pressing the base button for 4
secondstests the wireless
interconnection of any connected bases
and all RF interconnected alarms start
to alarm.
Alarm status:
When a single alarm unit detects smoke, it will
alarm without a flashing red LED on the base.
The red LED on any interconnected alarms
will flash twice per second. This way
occupants can identify which alarm caused
the network to activate and thereby the
source of the smoke can be identified.
Low battery reminder:
When the base battery is low, the base red
LED flashes once every 10 seconds.
WIRELEDD TEST BUTTON
(PIN HOLE)
Diagram 1
