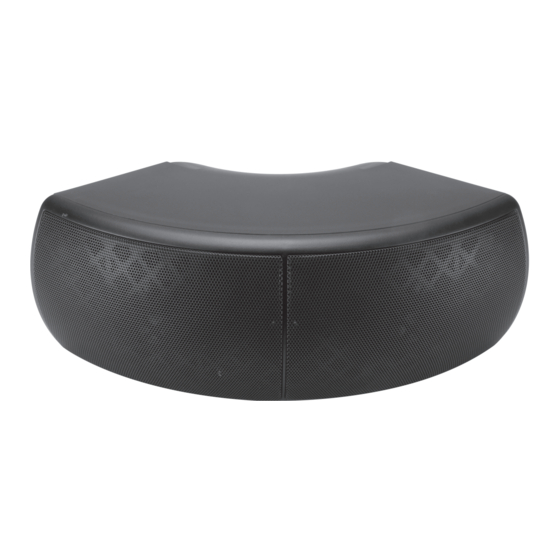
DaytonAudio QS204-4 Посібник користувача - Сторінка 3
Переглянути онлайн або завантажити pdf Посібник користувача для Спікери DaytonAudio QS204-4. DaytonAudio QS204-4 5 сторінок. 70v commercial speaker pair

4)
Final Installation
To complete mounting the speaker, choose the desired orientation (vertical or horizontal) and then slide the speaker into the large half of the bracket, then
install the small half of the bracket (the endcap) using the long screws provided. Note: If the speaker does not slide easily into the bracket in the desired
orientation, rotate it 180 degrees and try again. The speaker is intended to slide into the bracket in only one direction.
Step 1: Install the multi-angle bracket
Horizontal Wall Mount
Step 2: Install the speaker
Horizontal Wall Mount
Step 2a: Install speaker
Two Speakers Array
CAUTION: Do not over-tighten the endcap screws. Too much torque may crack the plastic bracket. A snug fit is all that is necessary to
assure proper performance.
5)
Troubleshooting
Should your speakers not work properly, check the following:
No sound from speakers or quiet/strange sound:
Make certain you observed proper polarity for both speaker inputs. Check the connections at the back of the receiver, and then at the speaker.
l
Verify that the amplifier is powered on and the volume is turned up.
l
Check that the correct transformer tap is selected for your application. If you are using a stereo amplifier or a receiver, use the 4-ohm tap.
Mute feature or protection mode is activated. Check for short circuits in speaker wiring.
l
One speaker is playing while the other is not playing or plays quietly:
Check the balance control on the receiver. Make sure it is centered.
l
Loose connection at either the receiver or the speaker. Double check connections.
l
Bad speaker cable. Replace the suspect speaker cable.
l
Amplifier/Receiver cuts on and off:
This could be caused by a short circuit between the positive and negative leads. Check the connections at the back of the receiver, and
l
then at the speaker; make sure that no strands of wire from one connector are touching the other connector.
Vertical Wall Mount
Option
Option
1
Step 2b: Install endcap
Three Speakers Array
Two Speakers Array
2
Vertical Wall Mount
Option 1
(3)
Three Speakers Array
Option 2
Option 3
