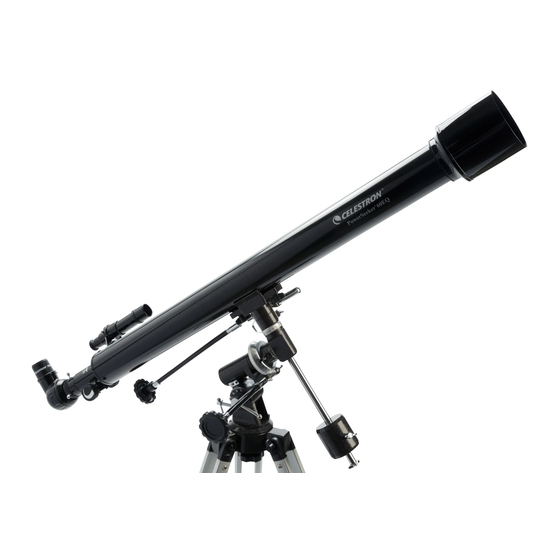
Celestron 21067 Інструкція з експлуатації - Сторінка 8
Переглянути онлайн або завантажити pdf Інструкція з експлуатації для Телескоп Celestron 21067. Celestron 21067 16 сторінок. Celestron firstscope 60eq: instruction manual

you're trying to view, you'll want to loosen the declination lock for greater movement. Manually move the telescope
tube past the object you want to view, then use the slow motion control, in the opposite direction, to go back to the
object. Tighten the knob and reverse the direction of the declination cable. Do not try to force movement when the
declination cable has reached the end of its range. There are the same two options for moving the telescope in right
ascension (east/west). For large and quick movements, release the right ascension knob (24), move the telescope
toward the object you want to view, then tighten the knob when you're near the object. For very small movements
and fine adjustments, use the right ascension cable (31). For quick horizontal movement, loosen the horizontal
adjustment knob.
In order for the telescope to move smoothly on both axes it must be properly balanced. To balance the right
ascension axis, move the counterweight shaft so it is parallel with the ground. Slowly release the right ascension
knob (24) and check to see if the optical tube moves. If the optical tube does move, then slide the counterweight up
or down the counterweight shaft until the optical tube remains stationary in a position parallel to the ground. When
you have achieved balance, tighten the counterweight lock nut. To balance the declination axis, follow the same
procedure, using the declination knob (22) and the tube mounting rings.
Aligning the Star Pointer Finderscope
The Star Pointer is the quickest and easiest way to point your telescope exactly at a desired object in the sky. It's like
having a laser pointer that you can shine directly onto the night sky. The Star Pointer is a zero magnification
pointing tool that uses a coated glass window to superimpose the image of a small red dot onto the night sky. While
keeping both eyes open when looking through the Star Pointer, simply move your telescope until the red dot, seen
through the Star Pointer, merges with the object as seen with your unaided eye. The red dot is produced by a light-
emitting diode (LED); it is not a laser beam and will not damage the glass window or your eye. The star pointer is
powered by a long life 3-volt lithium battery (#CR2032) located underneath the front portion of the Star Pointer.
Like all finderscopes, the Star Pointer must be properly aligned with the main telescope before it can be used. This is
a simple process using the azimuth and altitude control knobs located on the side and bottom of the Star Pointer.
The alignment procedure is best done at night since the LED dot will be difficult to see during the day
1.
To turn on the Star Pointer, rotate the variable brightness control clockwise until you here a "click". To increase
the brightness level of the red dot, continue rotating the control knob about 180º until it stops.
2.
Locate a bright star or planet and center it in a low power eyepiece in the main telescope.
3.
With both eyes open, look through the glass window at the alignment star.
4.
If the Star Pointer is perfectly aligned, you will see the red LED dot overlap the alignment star. If the Star
Pointer is not aligned, take notice of where the red dot is relative to the bright star.
5.
Without moving the main telescope, turn the Star Pointer's azimuth and altitude alignment controls until the red
dot is directly over the alignment star.
If the LED dot is brighter than the alignment star, it may make it difficult to see the star. Turn the variable brightness
control counterclockwise, until the red dot is the same brightness as the alignment star. This will make it easier to
get an accurate alignment. The Star Pointer is now ready to be used . Remember to always turn the power off
after you have found an object. This will extend the life of both the battery and the LED.
9
.
