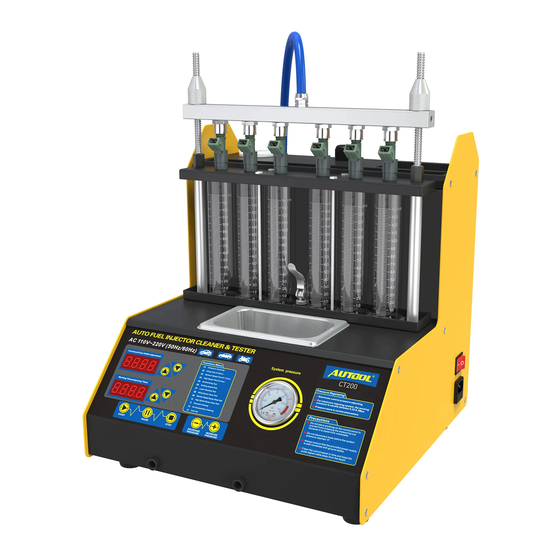
Autool CT-200 Посібник користувача - Сторінка 10
Переглянути онлайн або завантажити pdf Посібник користувача для Діагностичне обладнання Autool CT-200. Autool CT-200 14 сторінок. Injector cleaner & tester
Також для Autool CT-200: Посібник (18 сторінок), Посібник користувача (14 сторінок)

2) Press the up and down buttons to set the number of times. (Generally set to
2000 times)
3) Press down on the oil drain handle to observe the fuel injection volume.
4) Press the start button to start the test.
5) After the test, raise the drain handle and put the testing agent back into the tank.
Description: Simulate the working conditions and fuel injection volume of the engine
when the fuel injection nozzle works for a certain number of times when the engine
is idling.
09 Medium speed spray volume test
1) Select "09 Medium Spray Volume".
2) The rest of the operation steps are consistent with item 08.
10 High speed spray volume test
1) Select "10 High Spray Volume".
2) The rest of the operation steps are consistent with item 08.
NOTICE
● Flow balance Test the flow balance at different speeds. When the liquid level in
the measuring cylinder is 2/3 of the measuring cylinder, pause or stop work to
observe the balance of the fuel injection volume. The deviation of the fuel injection
volume of all fuel injection nozzles on a vehicle should not exceed 2%. Or refer to
the relevant technical manual of the fuel injector to judge the flow balance of the
fuel injector.
● Observation of fuel injection shape Observe whether the fuel injection shapes
and angles of all fuel injection nozzles on the same car are uniform at various
speeds. At the same time, you can adjust the opening pulse width of the fuel
injection nozzle to check whether the minimum opening pulse width of the fuel
injection nozzle is consistent.
● Leak detection test Leak detection test is to detect the tightness of the injector
needle valve under the high pressure of the system. (Observe the tightness of the
fuel injector, generally there should be no leakage within one minute)
11 Unit info
Display the product number and date of manufacture of the device.
4 Storage and maintenance
4.1 Storage
1) Turn off the power and unplug the power plug.
2) Put all connectors back into the accessory box for storage.
