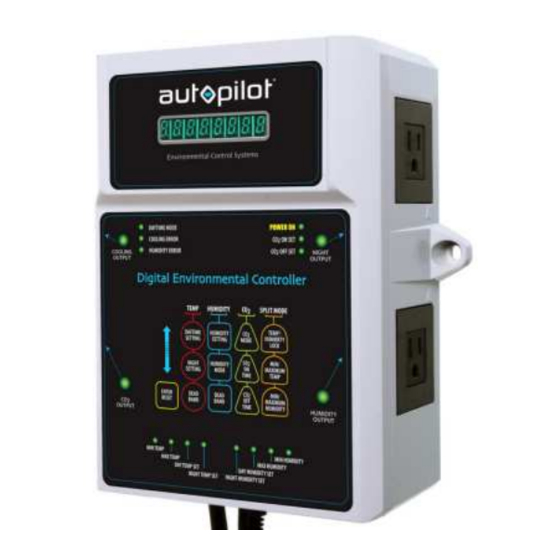
Autopilot APCEM2 Посібник з усунення несправностей - Сторінка 3
Переглянути онлайн або завантажити pdf Посібник з усунення несправностей для Контролер Autopilot APCEM2. Autopilot APCEM2 9 сторінок.

If DAYTIME MODE doesn't come on 30 seconds after startup, make sure it is getting plenty of light on it,
and you can adjust the sensitivity by holding the "↓" button until "PHOtO_ _9" appears. 9 is highest
sensitivity, and is the factory setting.
4) Checking Temp, Humidity, CO2 ppm:
a. Examples of readings: Temp (F), Humidity (rH), and CO2 (PP).
NOTE: CO2 sensor needs to heat up after startup, screen will read "CO2_HEAT" during warm up.
NOTE: Different models monitor different parameters, as follows:
APCECOTH: reads Temp, Humidity, & CO2
APCECOD: reads only CO2
APCETHD: reads only Temp & Humidity
APCTMDT: reads only Temp *
b. The display will cycle through these readings*. Make sure the Temp & Humidity readings are
correct by comparing them with at least two separate, calibrated monitors.
Temp:
Humidity:
c. To check CO2 calibration, take the controller and sensor outside. Wait 20 minutes for sensor to
stabilize, then the reading should be within 380-475ppm (CO2 levels outside are fairly
constant).
least the first 2 years.
(Please note that doing a Factory Reset does NOT affect the CO2 calibration)
d. *The Master Digital Timer will only show the Temp reading when the "Press for Temp" button
is held down.
*This button is only on the APCTMDT, Master Digital Timer.
5) Checking timer / clock:
a. APCTMDT: has clock, and cycle timer.
APCETHD: has cycle timer.
b. Clock: Set to current time, then after five minutes, using stop watch or separate digital clock,
compare the time.
c. Cycle Timer: Set ON time for 10 sec ("00:00:10 N"), and OFF time for 10 sec ("00:00:10 F").
Outlet should come on for 10 sec, then off for 10 sec, screen will show a countdown.
6) Testing Relays:
a. Plug small devices into each outlet (such as small fans, etc.), in order to test power at the
outlet.
b. Hold "↓" and "Enter/Reset" until "F.Set" is displayed. Immediately when you see this, release
the buttons then hold "Enter/Reset" again. The controller will go into factory reset. Each outlet
should come on in sequence, one at a time.
within +/- 3 F
within +/- 10% RH
NOTE: The sensor is factory calibrated and doesn't need calibration for at
A common mistake is to calibrate right out of the box.
