Copernicus Tech Tub TEC601C Посібник з монтажу - Сторінка 6
Переглянути онлайн або завантажити pdf Посібник з монтажу для Візок на відкритому повітрі Copernicus Tech Tub TEC601C. Copernicus Tech Tub TEC601C 12 сторінок. Charging cabinet and locker for chromebooks
Також для Copernicus Tech Tub TEC601C: Посібник з монтажу (12 сторінок)
Actual Size:
1
M4 Wing Nut
A
x4
Install Cable Hooks
Actual Size:
2
M4 Wing Nut
A
x4
M4 x 14mm Carriage Screw
C
x4
Install Carriage Bolts on Power Strip and Mount to Power Strip Brackets
1
Keep your power strip upside
down as shown. This will make
the assembly easier!
2
M4 Lock Washer
B
x4
2
C
Version B - Released October 25, 2021 - Copernicus Educational Products Inc.
You will need: (Not to Scale)
Cable Hook
x2
Note orientation
of cable hooks
B
M4 Lock Washer
x4
M4 Flat Washer
D
x4
®
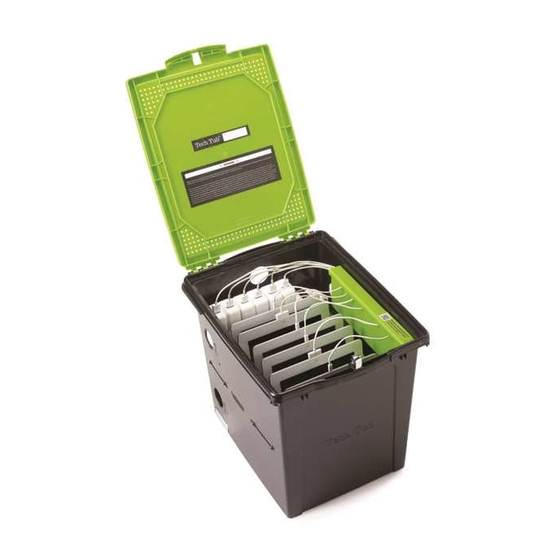
Tech Tub
x1
Tighten fully
B
A
Interior of Tech Tub
You will need: (Not to Scale)
Power Strip
Power Strip
Bracket
x1
x2
A
B
Hold bracket in place
while tightening hardware.
D
Tighten fully.
Power strip
cord end
Pay close attention to
orientation of power strip.
B
A