Gama Sonic AURORA Інструкція з експлуатації - Сторінка 3
Переглянути онлайн або завантажити pdf Інструкція з експлуатації для Ліхтар Gama Sonic AURORA. Gama Sonic AURORA 4 сторінки.
Operation Instructions
1.
Remove part (A) from part (B) by
removing the 2 screws as shown in Fig. 1.
2.
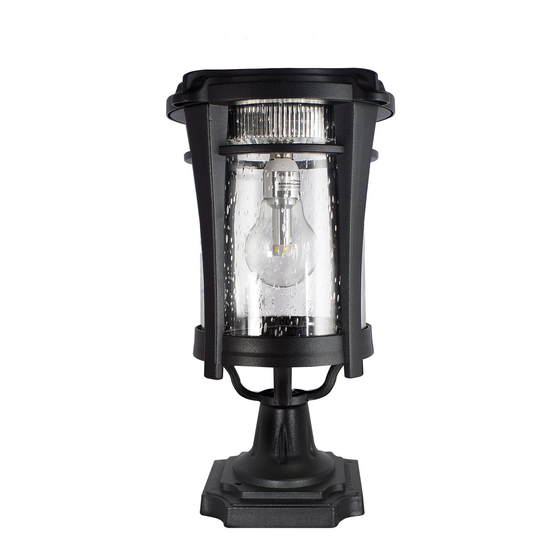
Screw in provided A-50 Gama Sonic
bulb while gripping the base only (Fig. 3).
3.
Turn the operation switch (Fig. 2) to the
HIGH/OFF/LOW position, and the solar
lamp will automatically operate from
dusk to dawn. Reattach part (A) to part
(B) and secure with the 2 screw.
Installation Instructions
Pier (Flat) Mount
Note: There are specific types of screws for specific
surfaces. If unsure of the appropriate type of screw to use
on your desired surface, please consult a professional.
1.
Use a drill to make two holes in the desired surface.
2.
Use the appropriate mounting hardware to secure
your lamp to the desired surface.
3.
Screw the fixture (B) into the flat base (E)
using bolt (F).
Bolt
Fig. 4
Fig. 6
Bolt
3" post
page 3
Fig. 1
Fig. 2
(Fig. 4)
Wall Mount
(Fig. 5)
1.
Using the wall bracket (D) as a template,
drill two holes in the wall and place
appropriate hardware into holes.
2.
Place the wall bracket in line with the holes
and secure bracket to wall.
3.
Screw the fixture (B) into the wall
mount (D) using bolt (F).
Post/3"Fitter Mount
Note: If you are replacing an existing gas/electric
post light, you must consult a certified technician
to disconnect them before installation.
1.
Screw the fixture (B) into the fitter (C) using
bolt (F).
2.
Place the unit on top of the existing 3" post
and tighten it using the screws provided.
OPERATION SWITCH
(Fig. 6)
Fig. 3
Fig. 5
Bolt