Jaga BRIZA 055 Інструкція з монтажу Посібник з монтажу - Сторінка 9
Переглянути онлайн або завантажити pdf Інструкція з монтажу Посібник з монтажу для Обігрівач Jaga BRIZA 055. Jaga BRIZA 055 12 сторінок. Briza ceiling
Також для Jaga BRIZA 055: Посібник (16 сторінок), Інструкція з монтажу (12 сторінок)
Hydraulic connection
b
ATTENTION!
It is very important for the water connections to be installed with
care by qualified personnel.
ATTENTION!
Position the drain pipes without mechanical stress on the drain
connection of the unit.
Hydraulic connections:
Connect the unit to the hydraulic system with the indicated inlet/
outlet connections as shown on page 7. Make sure the connections
are air tight with a sealant.
• all heat exchangers (including the additional one), are equipped
with an air vent near the top connection, and a water drain near
the lower connection.
• heat exchangers can be partially drained; it is recommended to
bleed air inside the coil to be drained completely.
Setting up the condensate drain:
The condensation drainage system must be set up with an ade-
quate inclination to make sure the water drain properly. When not
using the condensate drain pan, the outlet duct must be connected
directly to the condensation collection. In this case, the hydraulic
and the valves must be used for cooling water surely be insulated
against condensation.
Stench trap (sifon):
The condensate drain must be fitted with a stench trap:
Always set up or install a plug for cleaning in the lower part of the
siphon in order to allow quick disassembly.
Once installation is complete:
• bleed the air contained in the circuit
• make sure that there are no water leaks
• insulate the valves and connections and pipes with 10 mm thick
anti-condensation material or install the auxiliary pans
• pour water into the condensate collection pan and check if the liq-
uid is drained properly. Otherwise, check the inclination and look
for possible blockages.
Electrical connection
c
ATTENTION!
The electrical connection of the unit must be carried out by quali-
fied personnel, in compliance with the regulations applicable in the
country where the unit is installed.
Non-conforming electrical connections releases Jaga N.V. from
liability concerning damage to objects and persons.
• check that the voltage and frequency of the grid corresponds to
the information on the registration plate of the device
• that the available installed power is sufficient for running the
equipment
• if the unit is mounted on a metal surface, the earth connection
must be installed in compliance with local regulations. The earth
conductor must be longer than the other conductors so that it is
the last one to release in the event the connection comes loose.
• that the supply cables are of adequate section for the maximum
current required.
1
3
2
0 VDC
[
[
24 VDC
0..10 VDC
3
a
Position the casing
Attach the screws above and below the unit
b
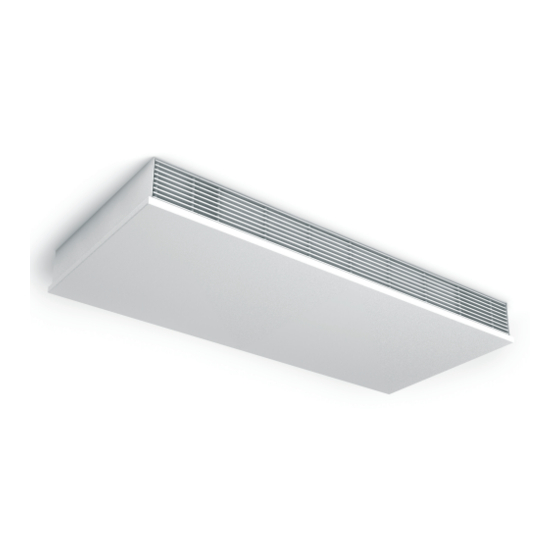
Place the grille
ATTENTION! The direction of the air flow is determined by the shape
of the fins of the grille.
Only for Briza Ceiling (with casing)
• slide the clamping plates to the inner side of the grate
• assure the grille security
E / 27200.23700029 - 7 september 2016 3:49 PM - Jaga N.V.
Mount the casing
9
BRIZA EC