Bristan Prism Інструкція з монтажу та перелік матеріалів - Сторінка 2
Переглянути онлайн або завантажити pdf Інструкція з монтажу та перелік матеріалів для Сантехнічний виріб Bristan Prism. Bristan Prism 2 сторінки. Basin mixer without waste
WATER PRESSURE
This mixer is suitable for use at all supply pressures. However for
optimum use both the hot and cold supplies should be reasonably
balanced. If the fitting is installed at low pressure (tank fed), then the
minimum distance from the outlet of the nozzle to the underside of
the cold tank should be 1.8 metres to ensure adequate performance.
This mixer should be installed in compliance with Water Regulations.
Where the supplies are unbalanced, i.e. hot water from the cylinder
tank / cold from the mains, approved check valves must be fitted in
the supply pipes. For further details contact your Local Water
Authority.
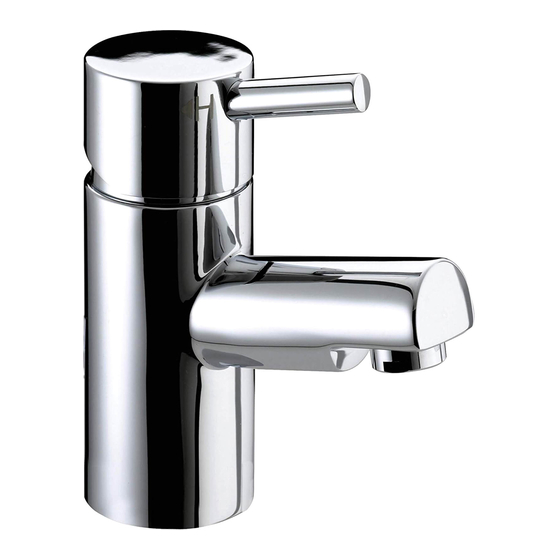
12
11
1
2
3
10
4
5
9
6
8
7
For latest prices and delivery to your door visit MyTub Ltd 0845 303 8383 www.mytub.co.uk
CONTENTS
1.
Head
(x1)
2.
Shroud
(x1)
3.
Retaining Nut
(x1)
4.
Mixer Body
(x1)
5.
Full Rubber Washer (x1)
6.
Metal Washer
(x1)
7.
Threaded Piece
(x1)
8.
Nut
(x1)
9.
Rubber 'C' Washer (x1)
10.
Cartridge
(x1)
11.
Head Lever
(x1)
12.
Grub Screw
(x1)
INSTALLATION
1.
Identify all components and check for completeness, particularly
before arranging fitting.
2.
Fit the mixer body (4) to the basin using the 'C' plate fixing kit (6
& 9). The full rubber washer (5) goes between the fitting and
the basin, and the 'C' shaped rubber (9) and metal washer (6)
on the underside of the basin. Use the threaded Piece (7) and
nut (8) to secure to basin.
3.
Fit the tail pipes to the fitting and connect the hot and cold
supplies.
4.
Fully open the mixer in the mid position, letting it run for a few
minutes to check all joints and connections for leaks.
5.
See over the page for aftercare instructions.
MAINTENANCE
If the fitting begins to drip:
1.
Turn off the water supply.
2.
Unscrew head lever (11), loosen grub screw (12) with 2.5mm
hexagon key and pull off head (1).
3.
Remove cartridge (10).
4.
Carefully clean seating, rubber washer and ceramic disc.
5.
Replace cartridge and head and turn on the water supply.
6.
Contact our helpline if problem persists.
Please Note: In the unlikely event you find a part missing please
contact our customer Service Help line on 0 844 701 6273 for
immediate dispatch of part.