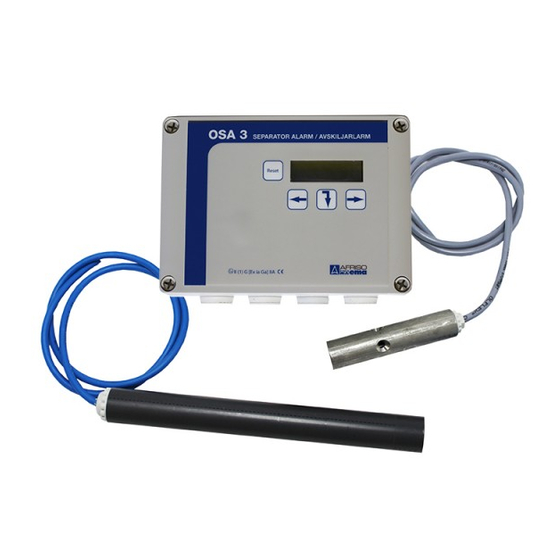
AFRISO OSA 3 Посібник - Сторінка 12
Переглянути онлайн або завантажити pdf Посібник для Вимірювальні прилади AFRISO OSA 3. AFRISO OSA 3 20 сторінок. Level alarm for oil separator

• Scanning of sensors
The unit now starts automatically scan-
ning the sensor inputs, after which the
following screens are shown. If the unit
finds a correctly connected sensor, it
automatically continues searching on the
next channel, i.e. 1, 2 and 3.
searching for sensor
• Sensor not detected
If an input does not have a connected sen-
sor, this can be confirmed in this routine.
The
key is used to approve the response
marked -YES-.
searching for sensor
Not connected. OK ?
-YES-
If a sensor is not detected at an input
despite the sensor being connected, the
same message as the one shown above
will appear on screen, and in this instance
it is necessary to correct any incorrect
connection (see Troubleshooting).
SEPARATOR ALARM
STATUS OK
2012.01.01
When automatic startup is complete and
all sensors have been detected, the unit is
ready to use and the following appears in
the display.
AFRISO EMA AB • Kilvägen 2, 232 37 Arlöv • Sweden • Phone +46-(0)40-92 20 50 • [email protected] • www.afriso.se
12
1
1
No
16:00
Seperator alarm OSA 3 • Manual
Sensor function control
Before any tests are made activate the ser-
vice mode of the unit. This must be done in
order to detect alarms without filtering/de-
lay. Especially the sludge probe can not be
tested properly if the service mode is not
activated. In the main menu press the
RESET key at the same time for 3 seconds.
The following screen will appear:
> SERVICE
DATE-TIME
INPUTS
RELAY OUTPUTS
Activate the service mode by pressing
for 3 seconds. The unit will now show a
number on the screen indicating which
probe is being scanned. The unit remains
in service mode for 30 minutes and returns
automatically into normal mode.
All connected sensors should be tested af-
ter installation. The following must be done
in order to test the various sensors:
• Capacitive layer sensor type ES4 is lifted
up out of the water in order to trigger an
alarm.
• Damming sensor type R6-S is dipped in
water in order to trigger an alarm.
• Sludge sensor type ES8 is lifted up into
air or pushed into sand/sludge in order
to trigger an alarm.
Note that it may take up to approx. 60 sec-
onds to trigger an alarm. This is because
the unit requires a number of scans in line
with the alarm status of the sensors in
order to trigger an alarm. This is done to
minimise the risk of false alarms when the
alarm level is close to the sensor.
• Testing of level sensor ES4
Lift the level sensor up into the air and
wait. The following screen should be
displayed within approx. 60 sec.
Level alarm act.
Press [Reset] to
acknowledge sound
OSA 3
+
