jali Room Divider Інструкція з монтажу - Сторінка 4
Переглянути онлайн або завантажити pdf Інструкція з монтажу для Внутрішнє оздоблення приміщень jali Room Divider. jali Room Divider 5 сторінок.

5. Connect the Top to the
Cam Bolts
Assembly with Cams and Bolts.
Top
Nickel Cams
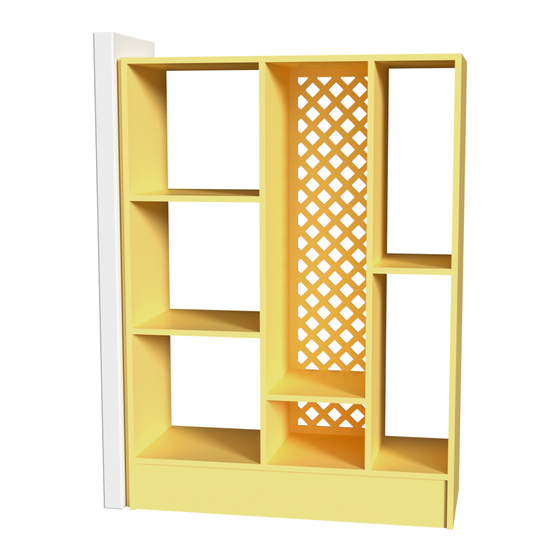
6. Carefully stand the unit upright.
This may require an extra pair of hands,
especially if the unit is large or heavy.
7. It's important to ensure that the unit is securely fixed in place, either via the wall, ceiling or both.
Every room and unit is different, so you must do whatever is best for your unique circumstances.
To help with this, we supply an optional Mount Board.
30mm CSK Screws
Use your own
fixings to attach
Mount Board to wall
Mount Board
If your room has a skirting board you don't wish to remove, you can trim the Mount Board to offset
the unit from the wall. Attach the Mount Board to your wall however you see fit – for example, by
using screws and wall plugs (depending on the wall type). Ensure any screws are countersunk, and
therefore flush. This provides a convenient flat surface for you to attach the fitted Side to. Use 30mm
CSK Screws in the holes provided.
Assembly Instructions: Room Divider
Page 4 of 5
