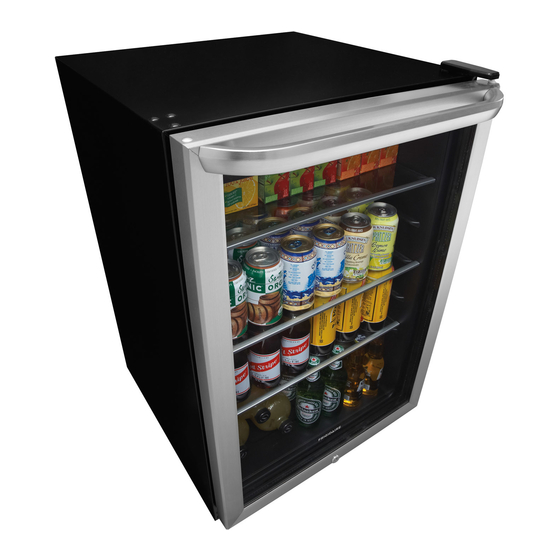
Frigidaire FFBC46F5LS Посібник з використання та догляду - Сторінка 5
Переглянути онлайн або завантажити pdf Посібник з використання та догляду для Морозильна камера Frigidaire FFBC46F5LS. Frigidaire FFBC46F5LS 11 сторінок. Complete owner's guide (français)
Також для Frigidaire FFBC46F5LS: Каталог заводських деталей (4 сторінок), Посібник користувача (іспанською) (11 сторінок), Посібник користувача (французькою) (11 сторінок)

Reversing the door swing
The glass door can be opened from left to right and vice
versa. Should you desire to change the opening direction,
please follow these instructions.
nOtE
All parts removed must be saved to do the
reinstallation of the door.
1.
Remove top cap. Remove the three screws that hold
the upper hinge (right side) to the top of the cabinet.
See Fig. 1.
2.
Carefully remove top hinge (See Fig. 1.), then lift the
door up off of bottom hinge and place it on a padded
surface to prevent scratching it. See Fig. 2.
3.
Remove the three button plugs from the upper left
corner of the cabinet and transfer them to the holes
on the opposite side. Be sure to press the button
plugs firmly into the holes. See Fig. 1.
4.
Remove three screws that hold the bottom hinge to
lower end of cabinet. Remove the three button plugs
from lower LH corner and transfer to holes where
bottom hinge was just removed. See Fig. 3.
5.
Unscrew pins from both hinges and transfer to
threaded hole on opposite side. See Fig. 4. Re-install
bottom hinge in LH corner of cabinet using same
Handle
three screws removed in Step 4.
Wooden Shelf Made of Beech
6.
On bottom edge of door, transfer door stop bracket
Control Panel
and bushing to holes on opposite side. See Fig. 6.
Glass Door
7.
On top edge of door, transfer the button plugs and
Control Switch of Lamp
bushing to hole on opposite side. See Fig. 7.
Adjustment Leg
Door Reversal Instructions:
8.
Place bottom LH corner of door onto lower hinge,
You can reverse the door swing if you change the position of the hinge( ) ,pls
then install top hinge to cabinet. Make sure door
follow the steps below:
Step 1:Close the door and use the knife carefully to remove the parts
is level and it seals properly against cabinet, then
chart 1)
securely fasten three screws. See Fig. 7. Snap top
Step 2:Remove the hinge cover (see chart 1)
cap back onto hinge.
Step 3:Remove the screws by cross-screwdriver (see chart 1)
Step 4:Remove the top hinge (see chart 1)
Step 5:Remove the bolt by screwdriver (see chart 1)
Button plugs
Step 6:Open the door and lift it up carefully then remove it,see chart 2.
Fig. 1
Chart 1
Step 11:Loosen the bolt
left and right side then assemble the parts,see chart 6.
Step 11:Loosen the bolt
left and right side then assemble the parts,see chart 6.
Step 7:Remove the bolt on the bottom of the door by screwdriver (see chart
3)
Step 8:Remove the screw and the block ,then set them on the left side.(see
chart 3)
Step 11:Loosen the bolt
Button plugs
left and right side then assemble the parts,see chart 6.
Fig. 3
Step 9:Change the hinge axis
Step 12:Revolve the hinge axis on the bottom of the door to the left hole,see
chart 7.
Fig. 4
Step 13:Assemble the door on the bottom hinge
(see
Step 10:Use knife to remove the parts ,see chart 5.
Step 12:Revolve the hinge axis on the bottom of the door to the left hole,see
chart 7.
Top cap
Screws
Screws
Fig. 5
Hinge
Bushing
Step 12:Revolve the hinge axis on the bottom of the door to the left hole,see
chart 7.
Step 13:Assemble the door on the bottom hinge
InStALLAtIOn
and bottom hinge
then replace the parts on the
and bottom hinge
then replace the parts on the
Chart 2
Chart 5
and bottom hinge
then replace the parts on the
Chart 3
Chart 6
from the right hole to left hole(see chart 4)
Chart 5
Chart 7
then reset the door bolt
Chart 5
- 9 -
Chart 4
Chart 6
- 8 -
Button plugs
Chart 6
Chart 7
then reset the door bolt
- 9 -
Chart 7
Fig. 2
Hinge
Screws
Move pin to
opposite hole
(upper and
lower hinges)
5
