IKEA GORLIG Інструкція з монтажу Посібник з монтажу - Сторінка 9

Переглянути онлайн або завантажити pdf Інструкція з монтажу Посібник з монтажу для Варильна поверхня IKEA GORLIG. IKEA GORLIG 28 сторінок. Built-in oven
Також для IKEA GORLIG: Посібник користувача (24 сторінок), Посібник користувача (24 сторінок), Посібник користувача (20 сторінок), Посібник користувача (32 сторінок), Посібник (24 сторінок), Інструкція (16 сторінок), Посібник (40 сторінок), Посібник (28 сторінок), Посібник користувача (24 сторінок), Посібник (48 сторінок), Посібник (24 сторінок)
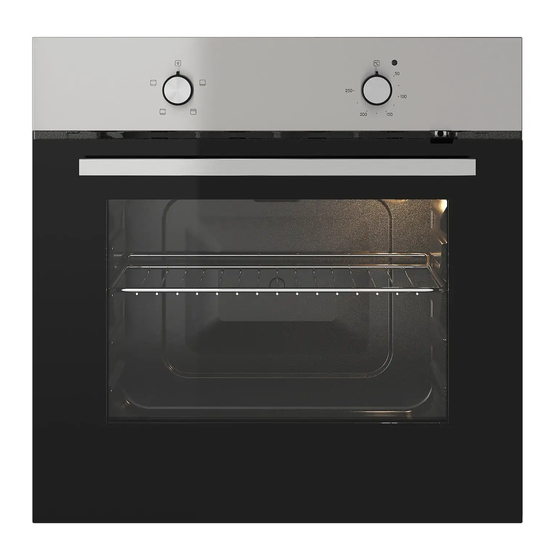
IKEA GORLIG Інструкція з монтажу Посібник з монтажу
ENGLISH

Product description

General overview
2
1
4
3
9
2
1
8
Accessories
• Wire shelf x 1
For cookware, cake tins, roasts.
• Aluminium baking tray x 1
For cakes and biscuits.

Before first use

Warning! Refer to Safety
chapters.
Initial Cleaning
Remove all accessories from the oven.
Refer to "Care and cleaning"
chapter.
Clean the oven and the accessories before
first use.
Put the accessories back to their initial
position.
Preheating
3
4
5
6
7
Control panel
1
Knob for the heating functions
2
Control knob
3
Temperature indicator
4
Air vents for the cooling fan
5
Grill
6
Lamp
7
Rating plate
8
Shelf positions
9
• Grill pan set x 1
To bake and roast or as pan to collect
fat.
1. Set the function
temperature.
2. Let the oven operate for 1 hour.
3. Set the function
temperature.
4. Let the oven operate for 15 minutes.
5. Turn off the oven and let it cool down.
Accessories can become hotter than usual.
The oven can emit an odour and smoke.
Make sure that the airflow in the room is
sufficient.
and the maximum
and set the maximum
9