IKEA DATID Інструкція з монтажу та інструкція з експлуатації та догляду - Сторінка 9
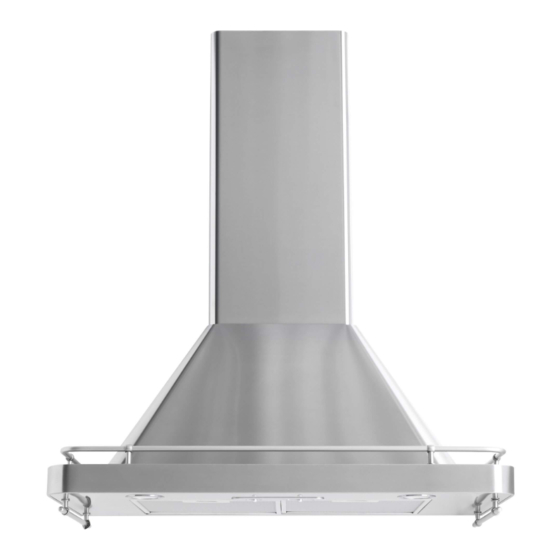
Переглянути онлайн або завантажити pdf Інструкція з монтажу та інструкція з експлуатації та догляду для Вентиляційна витяжка IKEA DATID. IKEA DATID 18 сторінок. 30" (76.2 cm) wall-mount canopy range hood
Також для IKEA DATID: Посібник користувача (16 сторінок), Посібник з монтажу (12 сторінок), Посібник (24 сторінок)
- 1. Range Hood
- 2. Range Hood Safety
- 3. Important Safety Instructions
- 4. Read and Save These Instructions
- 5. Tools and Parts
- 6. Venting Requirements
- 7. Electrical Requirements
- 8. Installation Instructions
- 9. Install Range Hood
- 10. Make Electrical Connection
- 11. Complete Installation
- 12. Range Hood Care
- 13. Wiring Diagram
- 14. Assistance or Service
- 15. Instructions D'installation
Complete Preparation
1. Determine and make all necessary cuts in the wall for the
vent system. Install the vent system before installing the
hood. See "Venting Requirements" section.
2. Determine the required height for the home power supply
cable and drill a 1¼" (3.2 cm) hole at this location.
3. Run the home power supply cable according to the
National Electrical Code or CSA Standards and local codes
and ordinances. There must be enough ½" conduit and
wires from the fused disconnect (or circuit breaker) box to
make the connection in the hood's electrical terminal box.
NOTE: Do not reconnect power until installation is complete.
4. Use caulk to seal all openings.
Install Range Hood
1. Using 2 or more people, hang range hood on 2 mounting
screws through the mounting slots on back of hood.
A
A. Mounting screws
B. Mounting slots
C. Lower mounting screws with flat washers
2. Remove the grease filter. See "Range Hood Care" section.
3. Level the range hood and tighten upper mounting screws.
4. Install 2 - 5 x 45 mm lower mounting screws with flat
washers and tighten. Use the optional wall anchors if
needed.
Connect Vent System
1. Install transition on top of hood (if removed for shipping) with
2 - 3.5 x 9.5 mm sheet metal screws.
A
B
A. Vent transition
B. 3.5 x 9.5 mm screw
For vented installations only:
1. Fit vent system over transition piece.
2. Seal connection with clamps.
3. Check that back draft dampers work properly.
For non-vented (recirculating) installation only:
1. Assemble the air deflector with the two extensions with
2. Assemble the air deflector with the duct cover bracket with
B
C
3. Measure from the bottom of the air deflector to the bottom
4. Cut the duct to the measured size (X).
5. Remove the air deflector.
6. Slide the duct onto the bottom of the air deflector.
2 - 3.5 x 6.5 mm screws provided.
A
A. 3.5 x 6.5 mm screws
4 - 3.5 x 6.5 mm screws provided.
A. Vent cover bracket
B. 3.5 x 6.5 mm screws
C. Air deflector
of the hood outlet.
B
D
E
A. Air deflector
B. Vent clamp
C. X = length to cut vent duct
D. Vent duct
E. Exhaust outlet
A
A
B
C
A
C
X
9