HIKVISION TURBO HD D0T PIR Series Посібник користувача - Сторінка 10
Переглянути онлайн або завантажити pdf Посібник користувача для Камера спостереження HIKVISION TURBO HD D0T PIR Series. HIKVISION TURBO HD D0T PIR Series 16 сторінок.
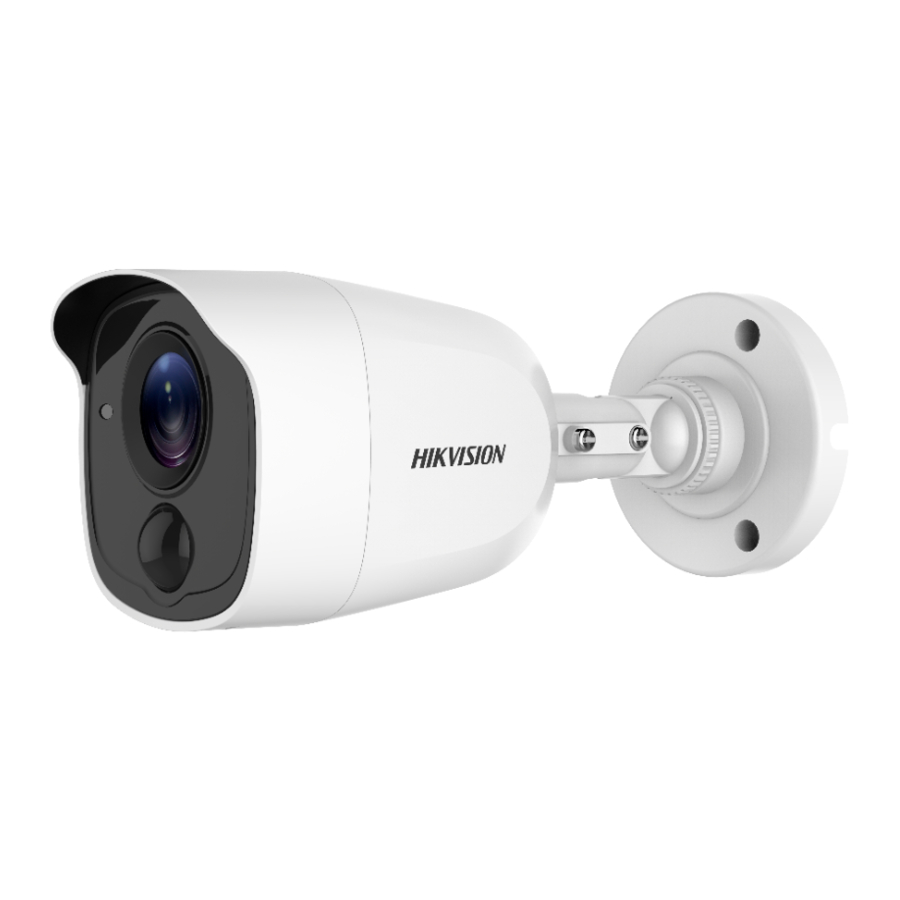
2. Drill screw holes and the cable hole (optional) in the
ceiling/wall according to the holes of the drill
template;
Note:
Drill the cable hole, when adopting ceiling outlet to
route the cable;
3. Take apart the junction box, and align the screw
holes of the bullet camera with those on the
Junction box's cover;
4. Fix the camera on the junction box's cover with
three supplied screws;
5. Secure the junction box's body with supplied screws
on the ceiling/wall;
6. Route the cables through the bottom cable hole, or
the side cable hole of the junction box.
7. ombine the junction box cover with its body with
supplied screws on the junction box's cover;
Figure 2-13 ombine the Junction ox's over with its
8. Repeat the step 5 and 6 of 2.2.1 Ceiling/Wall
Mounting without Junction Box to complete the
installation;
Available from A1 Security Cameras
w.a1securitycameras.com email: sales@a1securitycamera
Figure 2-11 Drill Template
Figure 2-12 Install the Junction Box
Junction Box
Body
Cover