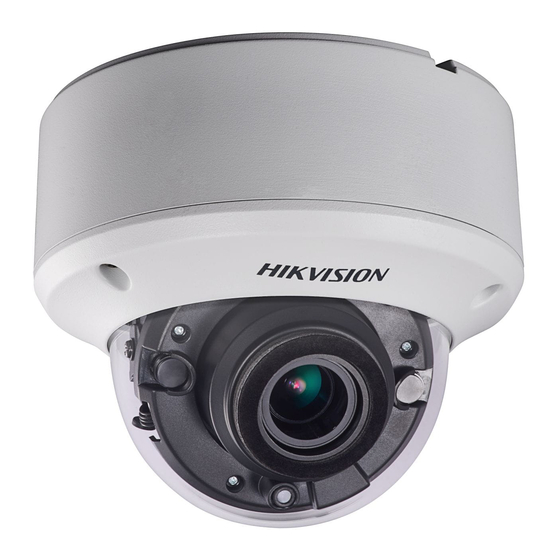
HIKVISION TURBO HD H8T Series Посібник користувача - Сторінка 6
Переглянути онлайн або завантажити pdf Посібник користувача для Камера спостереження HIKVISION TURBO HD H8T Series. HIKVISION TURBO HD H8T Series 15 сторінок. Turbo hd dome camera
Також для HIKVISION TURBO HD H8T Series: Посібник користувача (17 сторінок), Посібник користувача (17 сторінок), Посібник користувача (15 сторінок)

Type I Camera
Note:
Drill the cable hole, when adopting the ceiling outlet
to route the cable.
3. Loosen the screws on the bubble of the dome camera
to remove the bubble and the black liner.
4. Attach the back box of type I camera/base plate of
type II camera to the ceiling and secure them with
supplied screws.
Type I Camera
Figure 2-2 Attach the Back Box/Base Plate
Note:
The supplied screw package contains self-tapping
screws, and expansion bolts.
For cement ceiling, expansion bolts are required to
fix the camera. For wooden ceiling, self-tapping
screws are required.
5. Route the cables through the cable hole, or the side
opening.
6. Secure the camera on the back box/base plate.
1) For type I camera secure the camera on the back
box by tightening the screw.
2) For type II camera secure the camera on the base
plate by rotating the camera clockwise.
Figure 2-3 Fix the camera to the Ceiling
7. Connect the corresponding cables, such as power cord
and video cable.
8. Power on the camera to check whether the image on
the monitor is gotten from the optimum angle. If not,
adjust the camera according to the figure below to get
an optimum angle.
Figure 2-1 The Drill Template
Type II Camera
Type II Camera
